Reveals, and why splaying them matters
The cheapest way to get more light out of a window you have already bought.
Part of our Roof Window Installation guide
The reveal is the finished surface between the window frame and the room, formed through the thickness of the roof. How it is shaped changes how much light reaches the room, and it costs almost nothing to get right.
Square against splayed
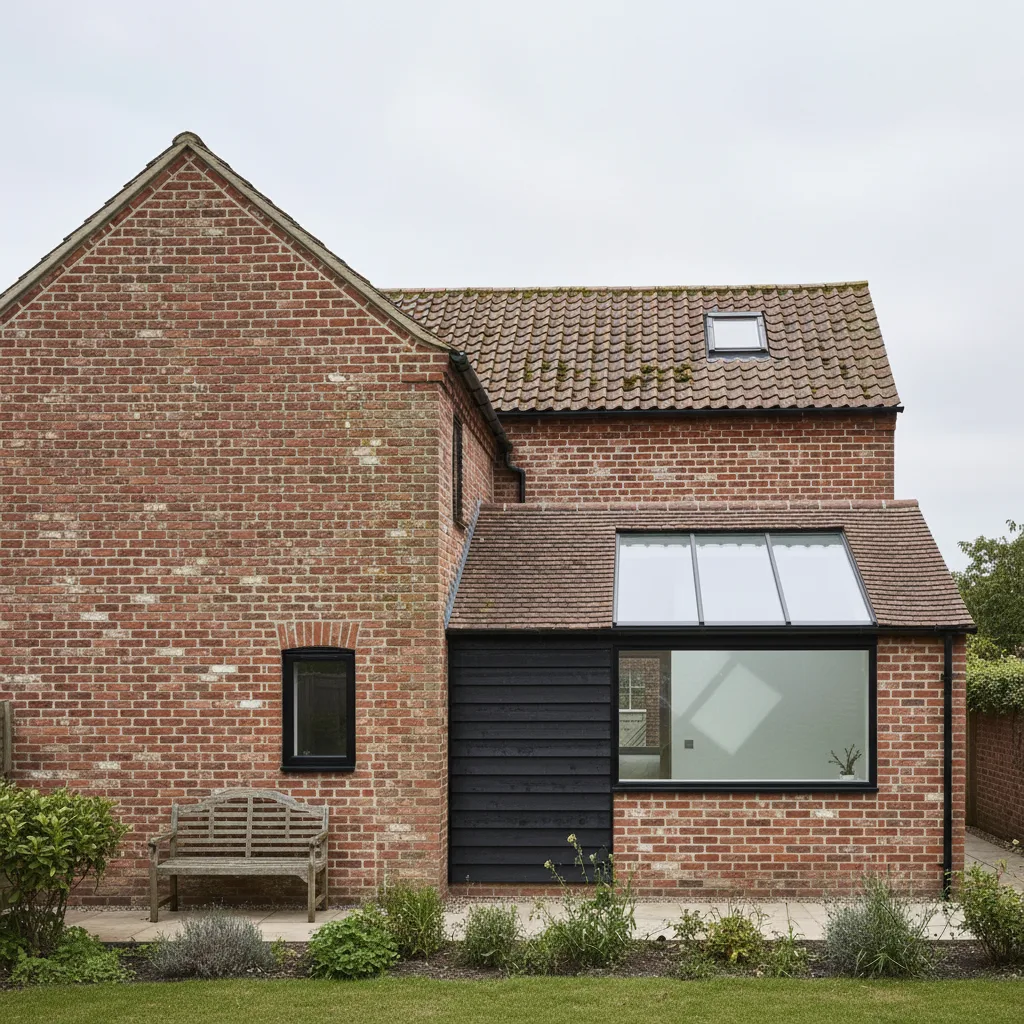
A square reveal runs perpendicular to the frame, so the opening in the ceiling is the same size as the window. Light leaves the window in a narrow cone and the reveal itself shades the edges.
A splayed reveal opens outward, so the ceiling opening is larger than the frame. Light spreads into the room instead of being clipped, and the reveal surfaces catch daylight and bounce it inward.
The difference is genuinely noticeable, particularly in a deep roof where the reveal is 300mm or more.
The standard arrangement
The usual detail is vertical at the head, horizontal at the cill.
The bottom of the reveal is cut horizontally, which throws light down into the room and towards the floor rather than into the roof structure. The top is cut vertically, which lets you see further up and out.
That combination gives more usable light and a better view than a square reveal, and it looks deliberate rather than default.
When it is not possible
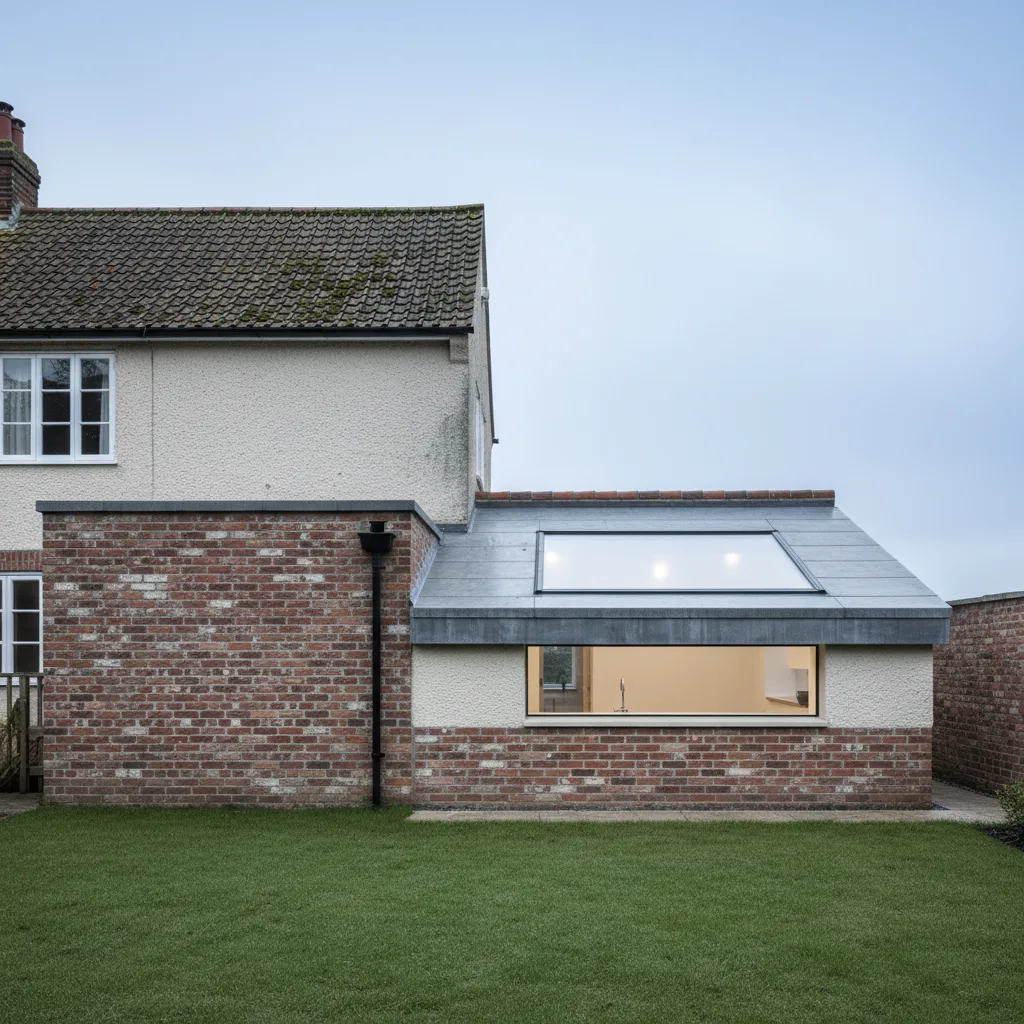
Where the roof is shallow there may be very little reveal depth to work with, and the point becomes moot.
Where the window sits tight against a wall, a purlin or a steel, the splay may not be achievable on one side. An asymmetric reveal is perfectly acceptable and better than no splay at all.
Finish
Paint the reveal white or near white regardless of the wall colour. It is the surface doing the reflecting, and a dark reveal absorbs the light you have just paid to let in.
Insulation
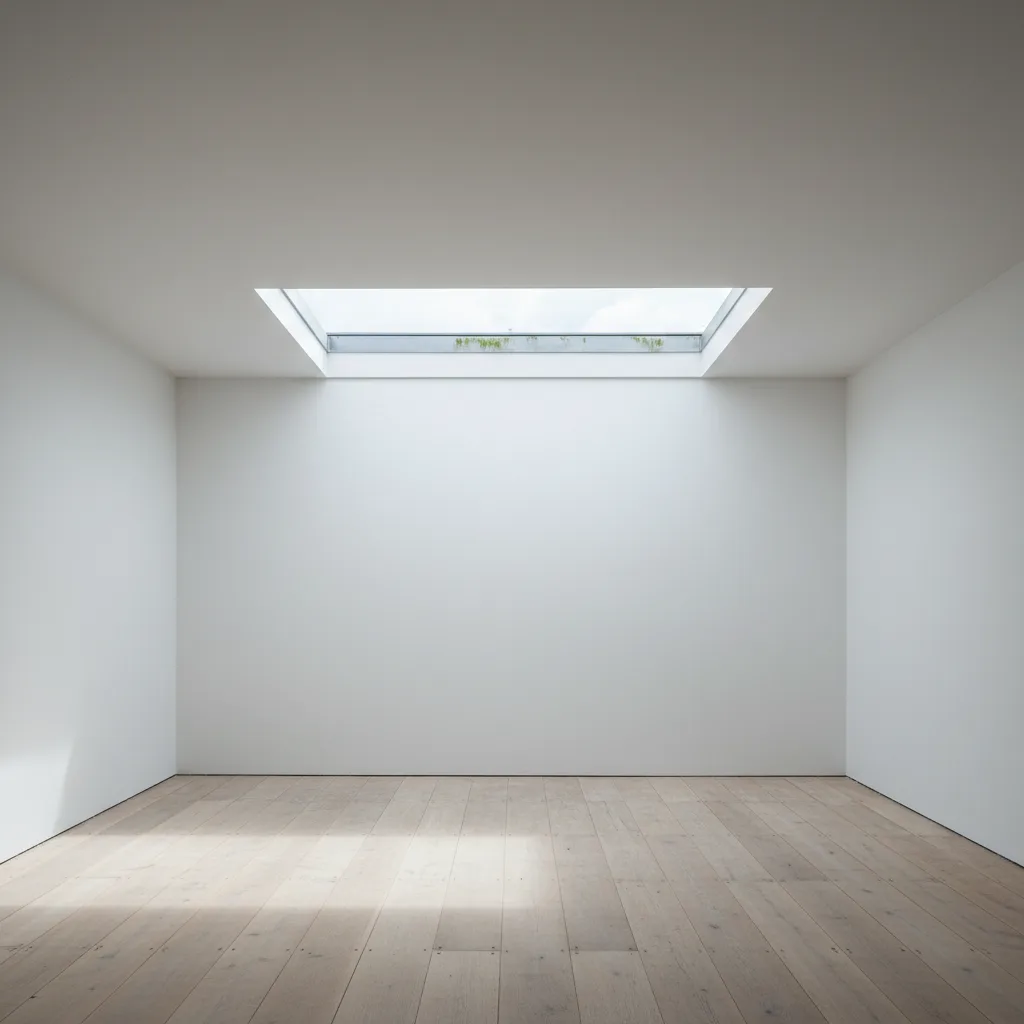
The reveal is a junction between inside and outside and it has to be insulated continuously to the window frame, with the vapour control layer sealed to it. A splayed reveal that is not insulated is a larger cold surface than a square one, and it will show as condensation at the edges.
The cheapest daylight you will ever buy
A rooflight in an insulated roof sits at the end of a tunnel. The roof construction is thick, so between the glass and the room there is a depth of plasterboard lined opening, and the shape of that opening decides how much of the collected light reaches the room.
It costs a little more in plastering, which is being done anyway on any new opening or replacement, and it does more for the result than a larger unit would at several times the price.
It is the single most consistently under specified detail in this trade.
How the two reveals behave
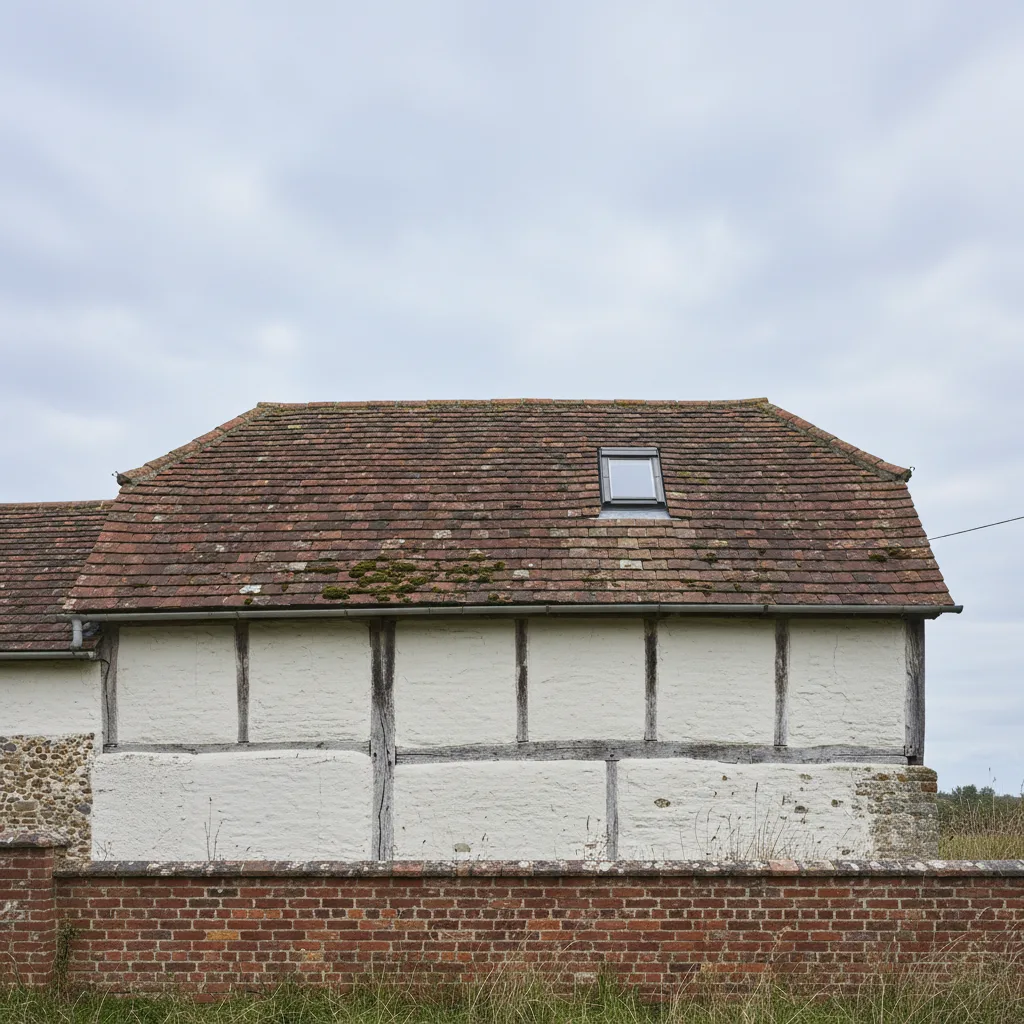
A square boxed reveal runs perpendicular to the plane of the window on all four sides. The opening in the ceiling is the same size as the window.
Light leaving the glass travels down a straight shaft and emerges as a narrow beam, landing as a bright rectangle on the floor. Everything outside that rectangle is lit only by what bounces off the reveal surfaces.
A splayed reveal is cut back at an angle, so the opening widens as it comes into the room. The aperture at ceiling level is larger than the window above it.
Light leaving the glass spreads outward. It reaches further into the room, it lights the walls as well as the floor, and the transition between the lit area and the rest of the room is gradual rather than abrupt.
What changes in the room
Three things, and all of them are noticeable.
The window looks bigger. Considerably. What you see from the middle of the room is the aperture at ceiling level rather than the glass itself, and a splayed reveal makes that aperture substantially larger.
The light distributes. Instead of a bright patch with darkness around it, the room is lit more evenly. Contrast is what makes a room feel gloomy, and reducing it does more than adding lumens.
The frame recedes. A square reveal frames the window with a hard edge. A splayed one softens the transition, and the frame reads as a smaller proportion of what you see.
Where it matters most
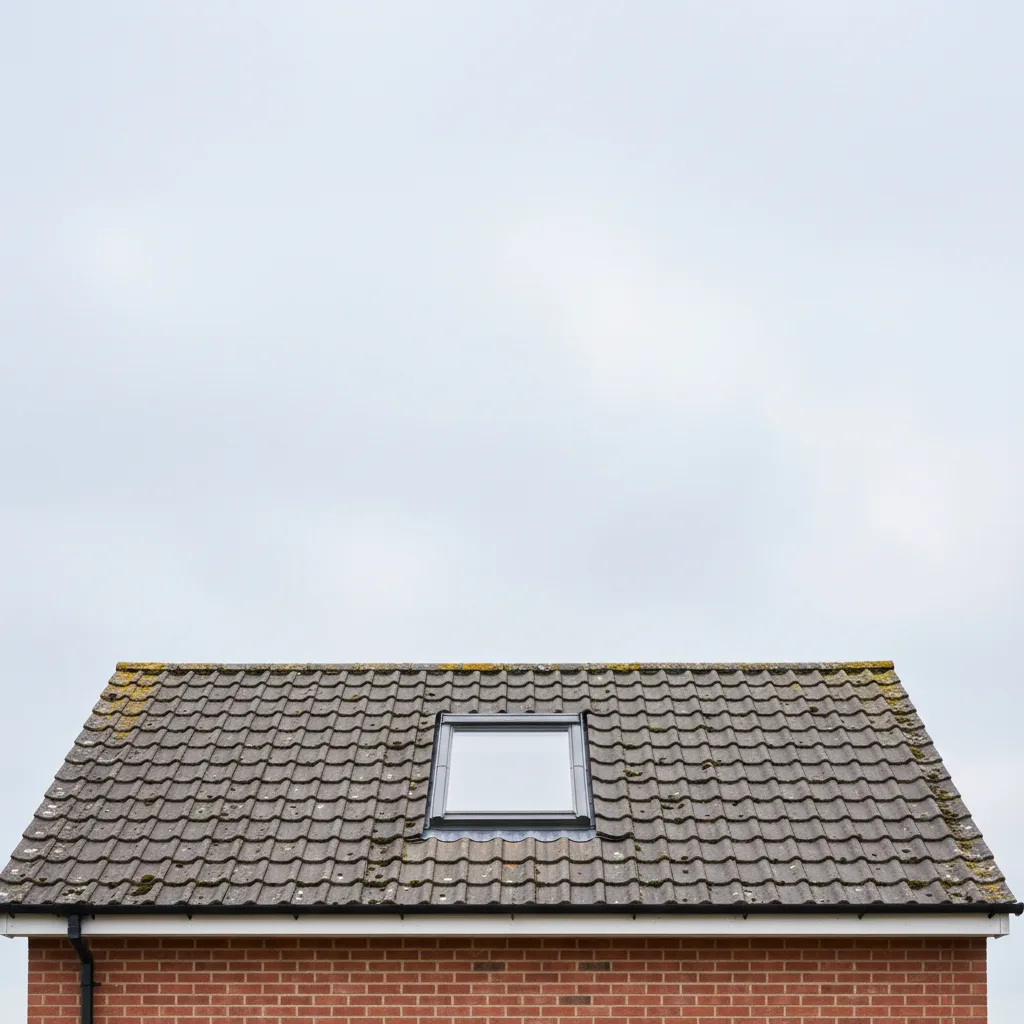
Shallow pitch roofs. The lower the pitch, the longer the reveal, because the roof construction is being crossed at a shallower angle. On a 27 degree modern estate roof the reveal is considerably deeper than on a 45 degree Victorian one, and there is correspondingly more to be gained by opening it up.
Thick roof constructions. A well insulated modern roof or a converted loft with full fill insulation is deep, and a square reveal in that depth is a genuine shaft.
Small rooflights. Where the unit is modest, the proportion lost to a square reveal is larger.
Rooms with only one rooflight. Where all the daylight comes from one source, distributing it matters more.
Which sides to splay
Usually the head and the sill rather than all four, and there is a reason for that.
Splaying the sill, the lower edge, throws light further back into the room and away from the wall beneath the window. That is the one that does most work.
Splaying the head, the upper edge, opens the view of the sky from further into the room and lets more light in from a high angle.
The sides can be splayed too and the gain is smaller, and on a narrow opening between rafters there may not be room to do it without cutting into structure.
A common and effective arrangement is a vertical head and a splayed sill, which throws light down and back into the room. Which suits depends on the room and it is worth discussing rather than defaulting.
The period property argument
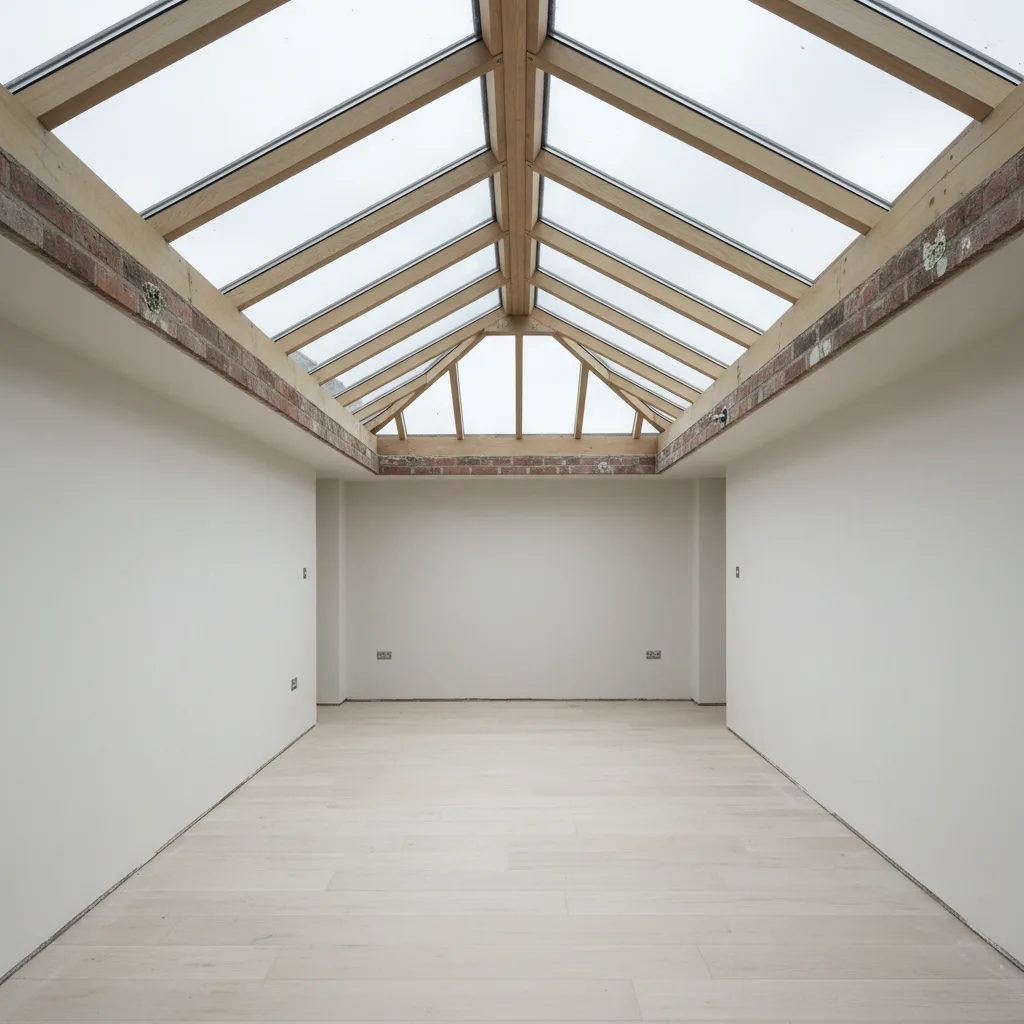
Separate from daylight and worth knowing.
In a room with lime plaster, exposed timber, cornice or panelling, a square boxed reveal with sharp modern arrises reads as a modern insertion. A splayed reveal, particularly with a slightly softened edge, reads as part of the building.
On a conservation rooflight in an old cottage, that difference is the one people notice, and it costs nothing extra beyond the plastering that is happening regardless.
What it costs
Modestly more plastering. The plasterboard has to be cut at an angle rather than square, the angles have to be beaded and finished, and the work takes longer.
Against that, it frequently means a smaller unit does the job you were about to buy a larger one for, which more than repays it.
It also has no thermal penalty. The insulation collar goes in exactly as it would otherwise, and the reveal geometry is a finishing decision rather than a construction one.
Doing it on an existing window
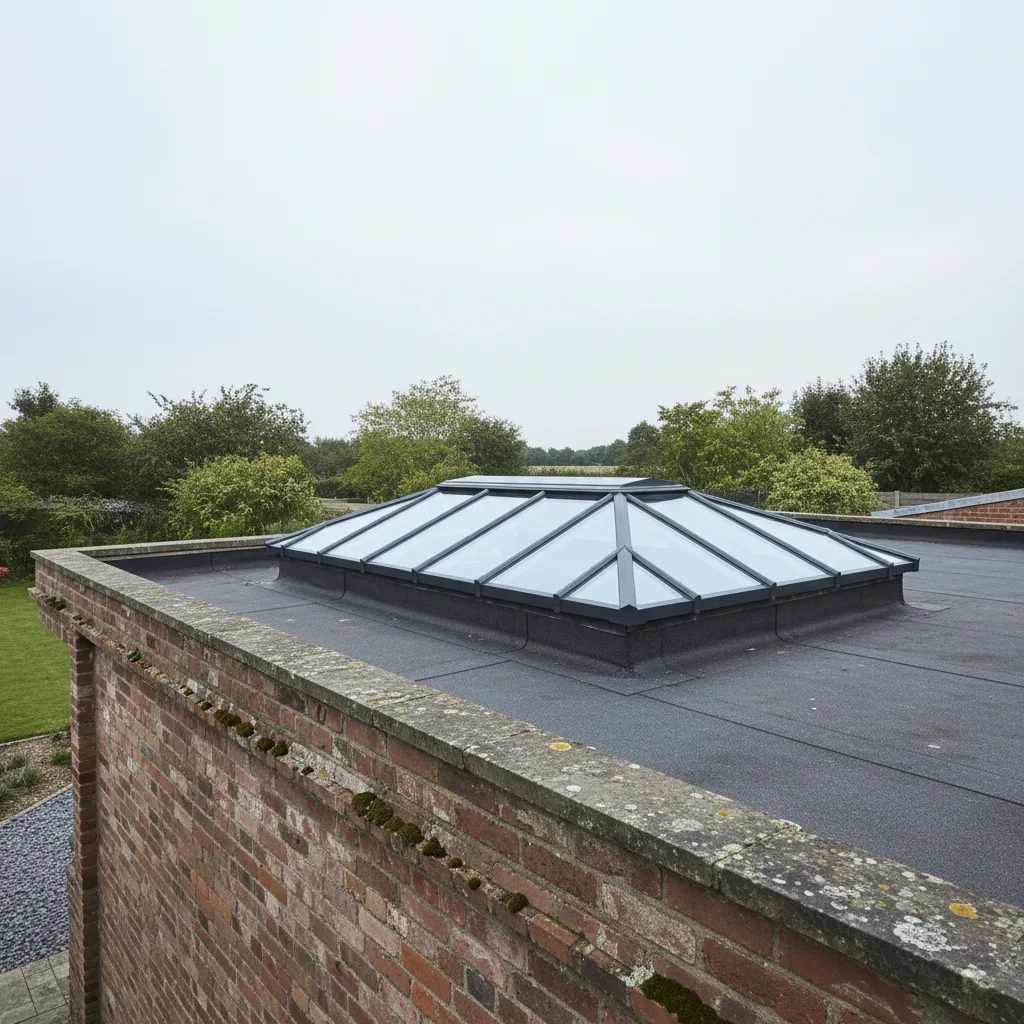
Entirely possible without touching the roof.
The lining comes off, the reveal is reformed at an angle, the insulation collar is fitted or checked, the vapour control layer is made continuous and sealed, and the surface is replastered.
A day’s work in one room, and no roof access at all, which surprises people who assume anything to do with a rooflight means scaffolding.
Where a room has a rooflight that has always felt like a shaft rather than a window, this is why, and it is fixable.
The related detail: what colour
A white reveal bounces light into the room. A dark one absorbs it.
On a rooflight installed specifically to bring daylight into a dark room, painting the reveal a strong colour undoes part of what the window is doing. Keep it light, and let the colour be elsewhere.
What to put on the quotation
Whether the reveal will be splayed or boxed square, and whether making good is to a plastered finish ready for decoration or stops at the plasterboard.
Cheap quotations frequently stop at the board, which leaves a taping and skimming job to arrange yourself and removes the opportunity to splay entirely.
What a reveal is doing
A rooflight sits at the top of a roof build up that may be 300mm deep or more. Between the glass and the room there is a tunnel, and that tunnel is the reveal.
It is not just a hole to be lined. It shapes the light, it carries the insulation and the vapour control layer, and it is what you actually see from the room. The glass is a long way up.
Comparing the two profiles
A square reveal has four faces perpendicular to the glass. It throws a hard edged shaft of light straight down, and the transition from bright reveal to dark ceiling is abrupt.
A splayed reveal is cut at an angle so it opens out towards the room. The angled faces catch light and bounce it sideways, spreading it across the ceiling rather than dropping it in a pool.
The effect on a modest rooflight is considerable. A splayed reveal makes a small opening feel like a larger one, because the lit area in the room is much greater.
The asymmetric splay
The traditional refinement, and worth asking about on a deep reveal.
Splaying the sill more steeply than the head throws light further into the room rather than straight down the wall below. On a rooflight high on a slope in a loft room, that difference decides whether the light reaches the floor or lands on the wall.
Splaying the sides as well spreads it laterally.
The thermal reason, which matters as much
Insulation has to be carried continuously around the reveal, from the roof insulation to the window frame, with no break.
In a square reveal the space available shrinks to nothing exactly where the reveal meets the frame, and that is precisely the point where a thermal bridge does most damage: a cold band at the frame edge, in a warm room, collecting condensation.
A splayed reveal gives room to carry insulation around the tunnel without pinching it. It is not a cosmetic decision.
The finish
White or very pale, whatever the rest of the room is. The reveal is a light reflector and a dark reveal absorbs what the rooflight worked to deliver.
A matt finish rather than a sheen, because a glossy reveal produces a bright glare edge rather than a soft spread.
What to ask for
Splayed reveals are more work than square ones, so they need to be specified rather than assumed. A builder left to his own devices will board a square tunnel because it is quicker.
Ask for it, and ask for photographs of the insulation and vapour control layer before the boards go on.
How much to splay
Enough to be obviously deliberate rather than a slight taper that reads as an error.
On a deep reveal the sill is usually splayed more steeply than the head, which throws light further into the room rather than down the wall below. The sides are splayed to spread it laterally.
It is worth drawing on a section rather than leaving it to the day.
More on Roof Window Installation
Ready to bring the daylight in?
Tell us about your project and we’ll send a clear, fixed written quote, no pressure, no surprises.
- Fixed written price before any work starts
- No pressure, no obligation, no sales calls
- Flexible survey times that suit you
- A reply within one working day