Cleaning and maintaining a rooflight
Ten minutes a year, and four of the five jobs cost nothing.
Part of our Replacing a Failed or Misted Rooflight guide
Rooflights are low maintenance rather than no maintenance, and a small amount of attention genuinely extends the life.
The glass
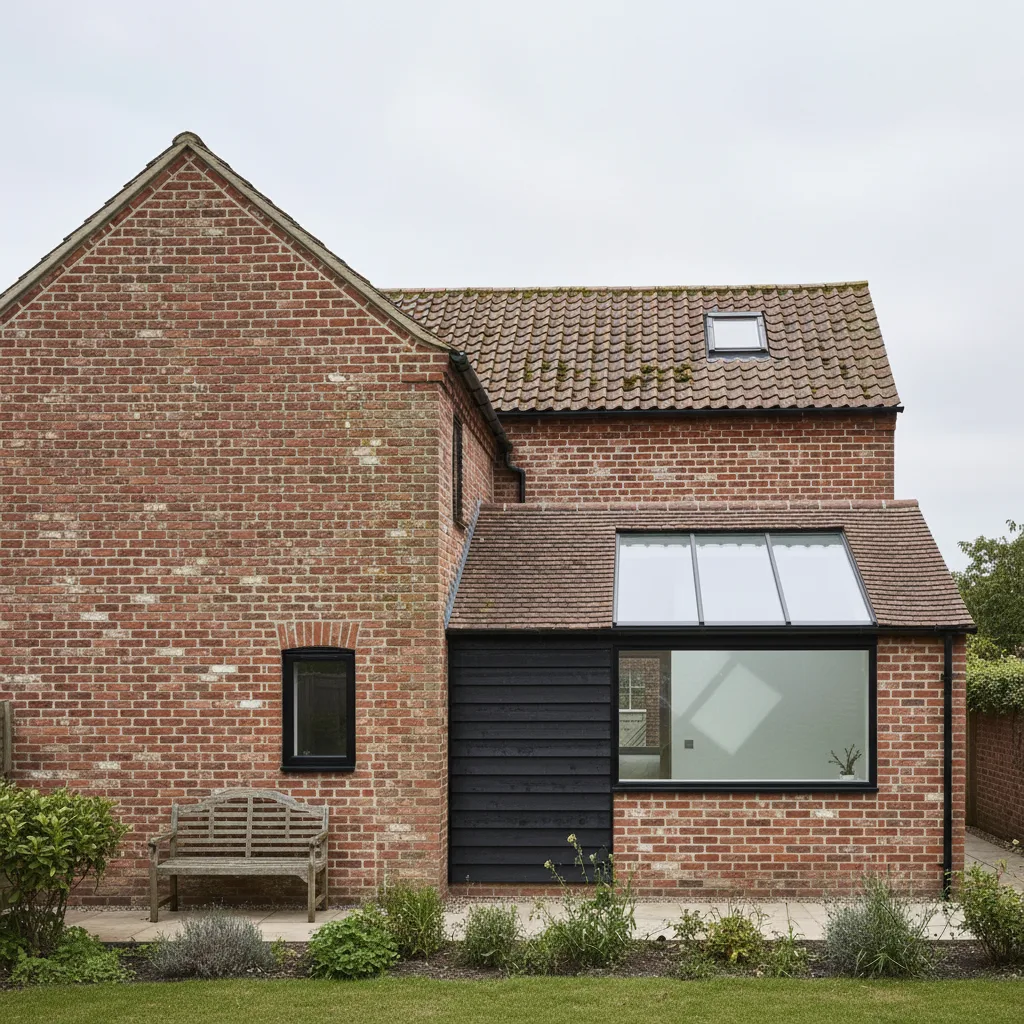
Outside, twice a year is plenty for most, more under trees. A water fed pole from the ground reaches most single storey units and is what a window cleaner uses.
On a pitched roof window, rotate the sash and clean it from inside. Find the locking catch that holds it rotated before you start.
Inside, an extendable microfibre pole once or twice a year. Do not soak it; water running down to the frame is not helpful.
Do not walk on a rooflight unless it is a walk-on unit.
The filter
Behind the ventilation flap on a roof window. It clogs, background ventilation drops to nothing, and condensation appears on cold mornings that never used to happen.
Pull it out, vacuum or rinse it. Two minutes, and the most neglected part.
The seals

Wipe the gaskets. Grit stops them compressing, which lets draughts and eventually water past. Hardened or split seals are a replaceable part.
Hinges
A drop of light oil. A stiff window gets forced, and forcing breaks handles.
The flashing
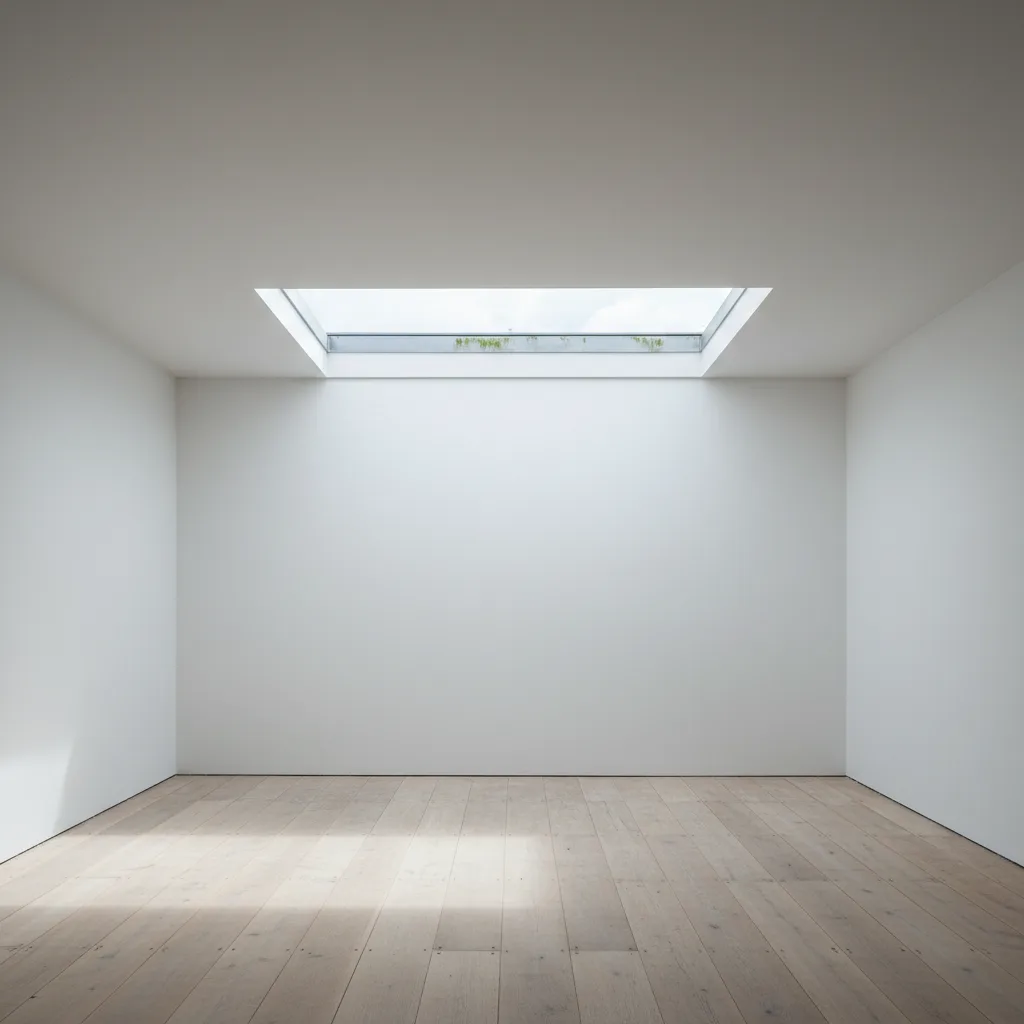
Clear leaves and moss from above the head flashing, particularly under trees. That dam holds water where it should be flowing away, and it causes a class of leak blamed on the unit.
What not to do
Pressure wash it, use solvents or abrasives on the frame or cladding, or paint over seals, hinges or the data plate.
Four jobs, once a year
A rooflight fitted properly asks very little. The routine is short and the first item matters most.
1. Clean the gasket
The single most useful thing on this list. Grit, leaves and moss on the compression seal stop the sash seating properly, and that has two consequences: water gets past, which is reported as a leak, and on a motorised unit the actuator works harder against an obstruction on every cycle, which shortens its life.
Open the window, wipe the seal all round with a damp cloth, and check it is not damaged or displaced.
2. Clean the filter
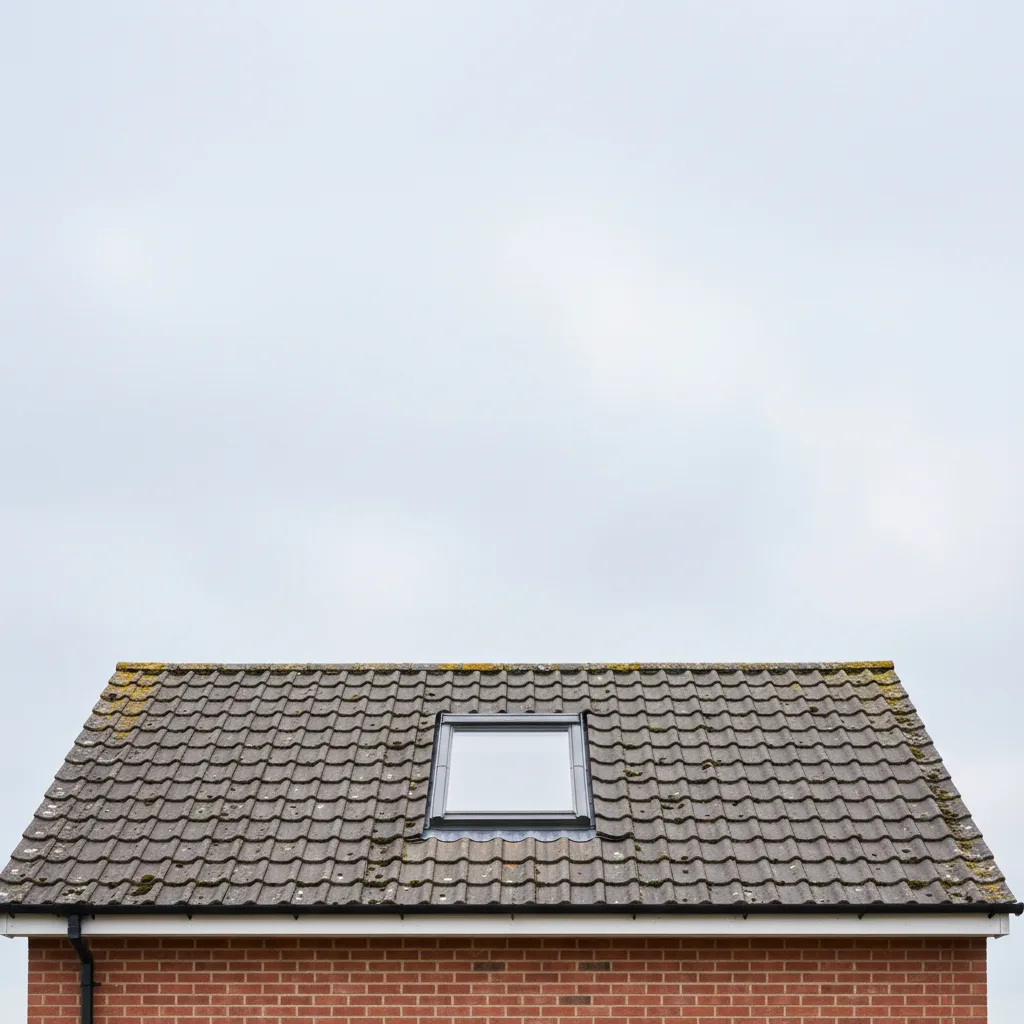
Most roof windows have one at the top of the sash, behind a removable strip. It clogs with dust, the trickle ventilation stops working, and the room gets damper without anybody connecting the two.
Vacuum it or rinse it depending on the type.
3. Clean the glass
Ordinary glass cleaner inside. Outside, warm water and a soft cloth. Avoid abrasives, and avoid pressure washing at close range on any unit, because it drives water into the perimeter seal.
On a centre pivot window, rotate the sash and lock it in the cleaning position: that is what the feature is for. On a top hung unit you may be able to reach the outer face by leaning out, or you may need a pole system.
Self cleaning glass helps on a pitched unit where rain sheets off, and does very little on a near flat one where water sits.
4. Look at the outside
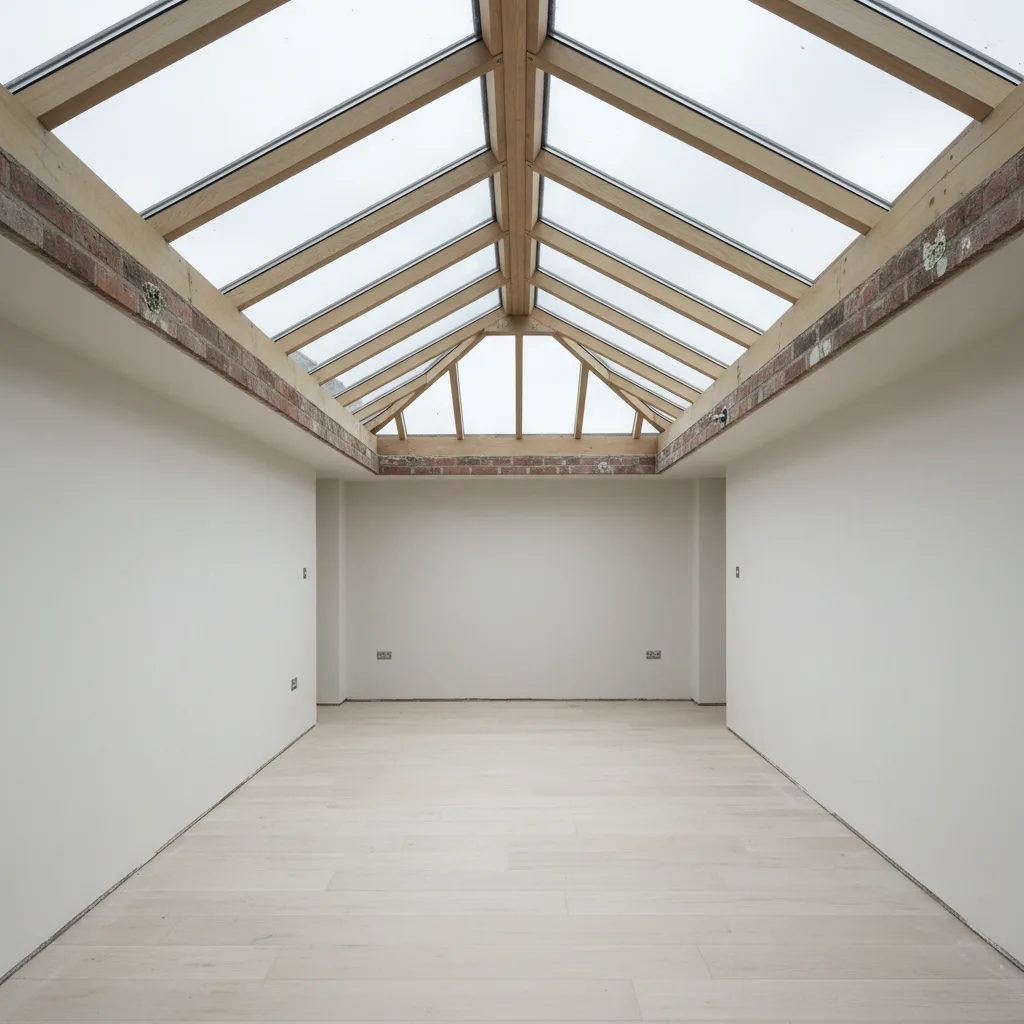
Every few years and after any storm. Lifted flashing edges, slipped tiles around the unit, or rust staining, which indicates a plated fixing failing. Catching a lifted flashing costs nothing; not catching it costs a ceiling.
Flat roof units, one extra job
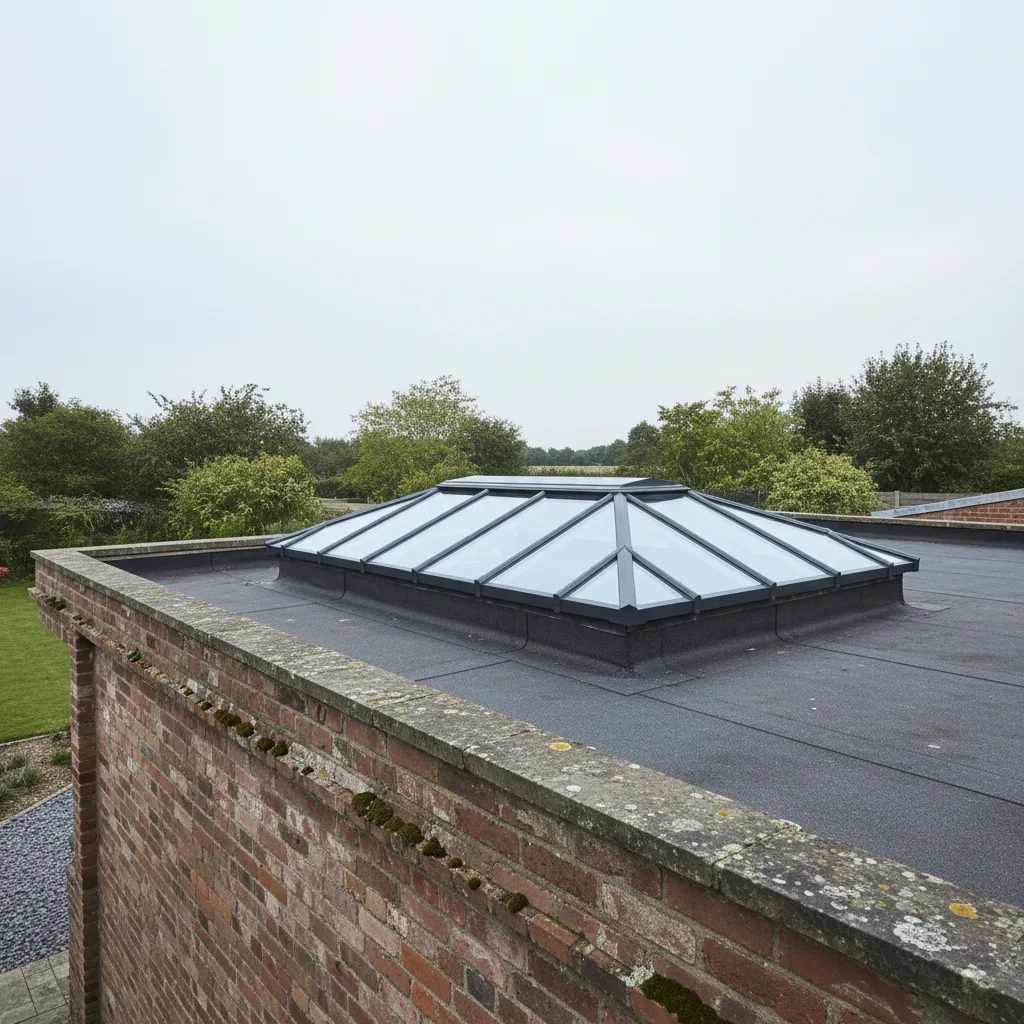
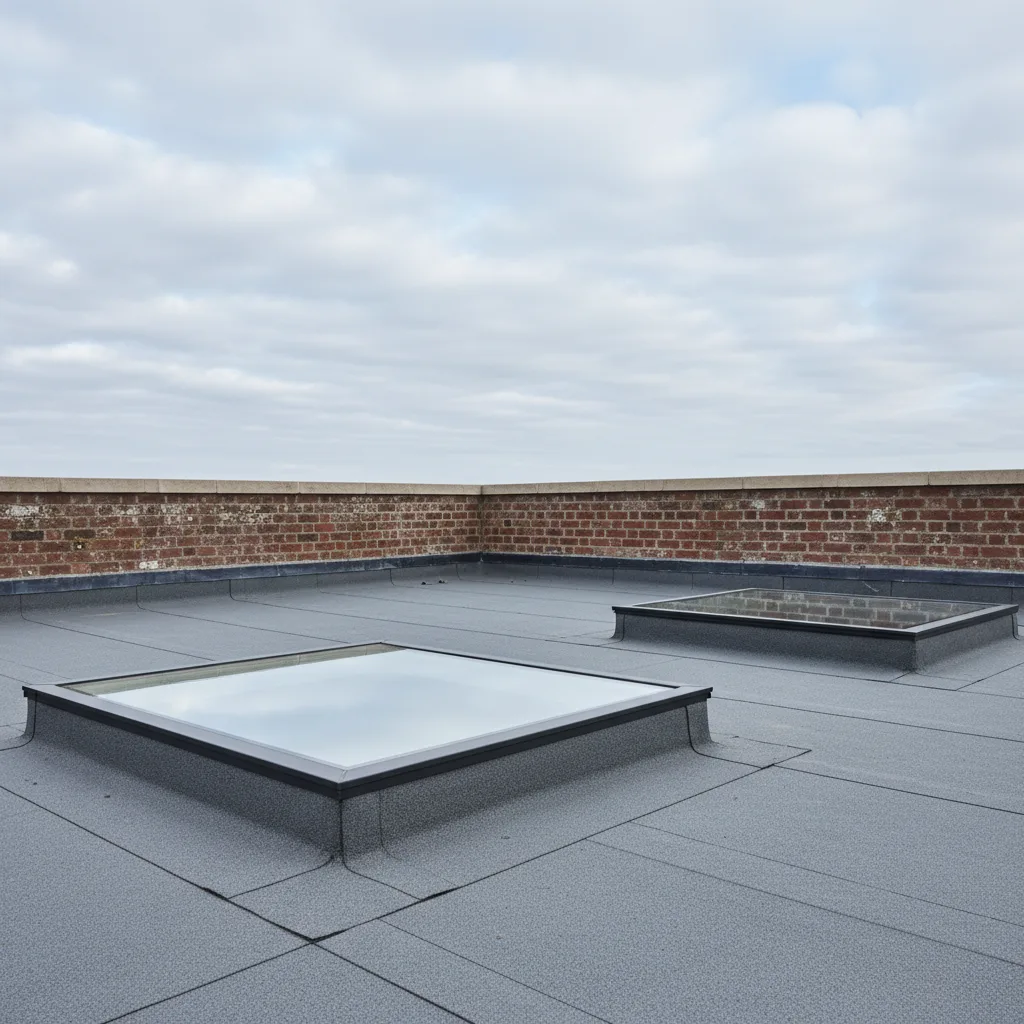
Keep the perimeter clear. Leaves and silt collect around a kerb, standing water against a seal is what kills a flat roof unit early, and there is nowhere for debris to go on its own.
Check the outlet the roof drains to at the same time, because a perfect fall discharging into a blocked gulley is a pond.
Motorised units, two extra
Wipe the rain sensor, because a dirty sensor either misses rain or reads permanent moisture from grime and refuses to let the window open at all, which looks exactly like a fault.
Cycle the unit fully a few times a year including in winter, because mechanisms that sit unused seize. Light oil or a dry PTFE spray on the chain, not grease, which collects grit.
What all this achieves
It is the difference between the top and the bottom of the fifteen to twenty five year range for the sealed unit, and between ten and fifteen years for an actuator. None of it takes long.
The yearly walk round
Glass, with warm water and a little washing up liquid, a soft cloth or a soft brush on a pole. Rinse and let it dry rather than wiping it dry, which is what leaves streaks.
The gasket where the sash meets the frame, wiped and checked for perishing or displacement. That gasket is what makes the unit weathertight.
The drainage channel at the sill, cleared. Debris there holds water against the seal, and it is the commonest reason a sound window starts letting water in after fifteen quiet years.
The ventilation filter, if the unit has one, lifted out and washed. Once blocked it stops working silently.
The flashing and the covering around it, looked at from the ground with binoculars if nothing else. Lifted or slipped material is much cheaper to deal with early.
What not to use
No abrasive pads, which haze glass permanently and destroy a self cleaning coating.
No pressure washer near a seal. Those joints are designed to shed rain, not to resist a jet at close range.
No solvent cleaners on a powder coated or clad frame.
No general purpose oil on a mechanism, which attracts grit. Use what the manufacturer names, sparingly.
The two rules for doing it safely
Lock a rotated sash in its cleaning position before touching it. The barrel bolt exists for a reason.
And do not stand on a rooflight that is not a walk on unit. A non fragile rating is fall protection for an accident, not permission to use it as a platform.
More on Replacing a Failed or Misted Rooflight
Ready to bring the daylight in?
Tell us about your project and we’ll send a clear, fixed written quote, no pressure, no surprises.
- Fixed written price before any work starts
- No pressure, no obligation, no sales calls
- Flexible survey times that suit you
- A reply within one working day