Making good the plaster around the opening
To a decorator-ready finish, and splaying the reveal is worth doing while it is open.
Part of our Replacing a Failed or Misted Rooflight guide
The reveal is the finished surface between the frame and the room, and how it is left is the part of the job you look at every day.
What is included
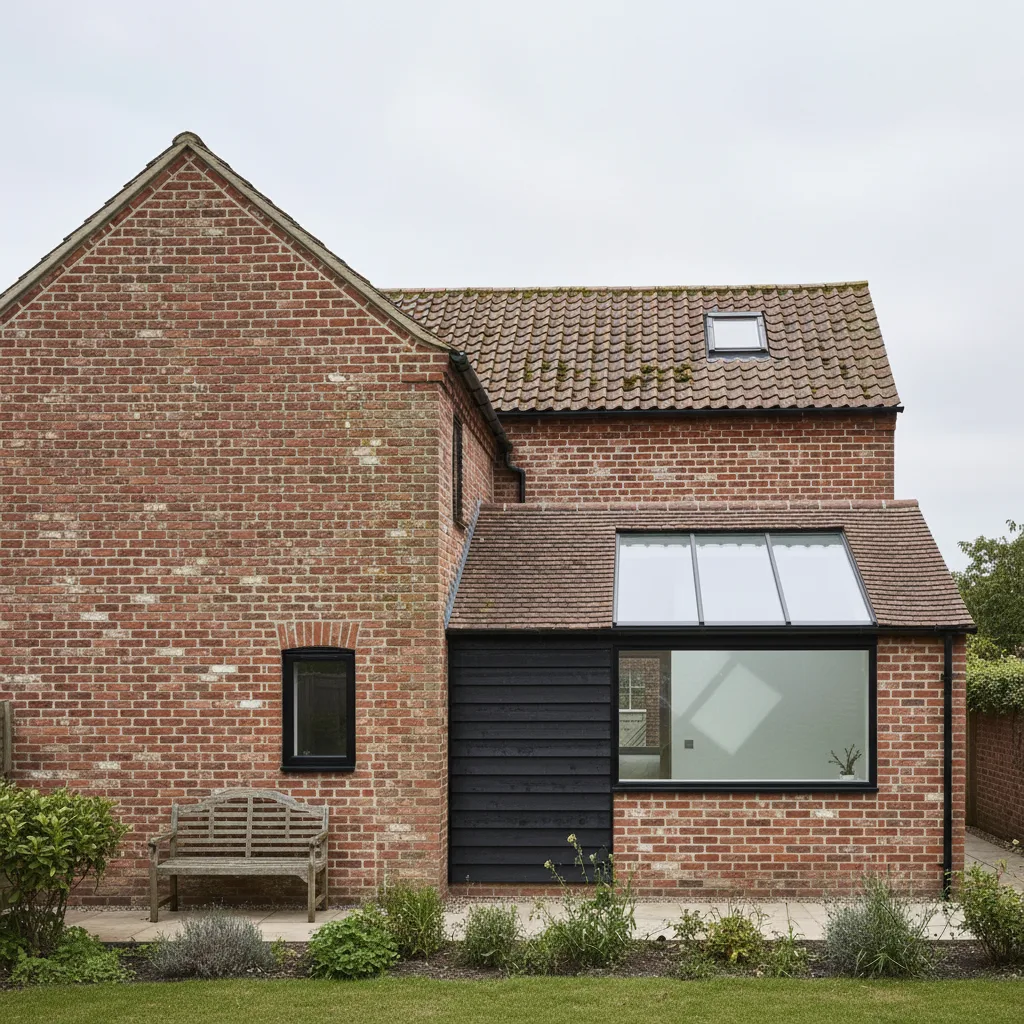
Making good to a decorator-ready finish: the reveal boarded, filled and skimmed where necessary, ready to paint.
Painting is not included unless quoted, and we say so on the quotation rather than leaving it ambiguous.
Like for like
Usually a fresh line of filler and decorator’s caulk where the new frame meets the existing plaster. Minimal work.
You will want to repaint the reveal, because the old paint line will not align with the new frame exactly.
Where the opening changes
The reveal is cut back or packed out on the affected sides, reboarded and skimmed. That needs drying time before decoration, typically a few days.
Splay it while it is open

If the reveal is being reformed anyway, splay it: vertical at the head, horizontal at the cill.
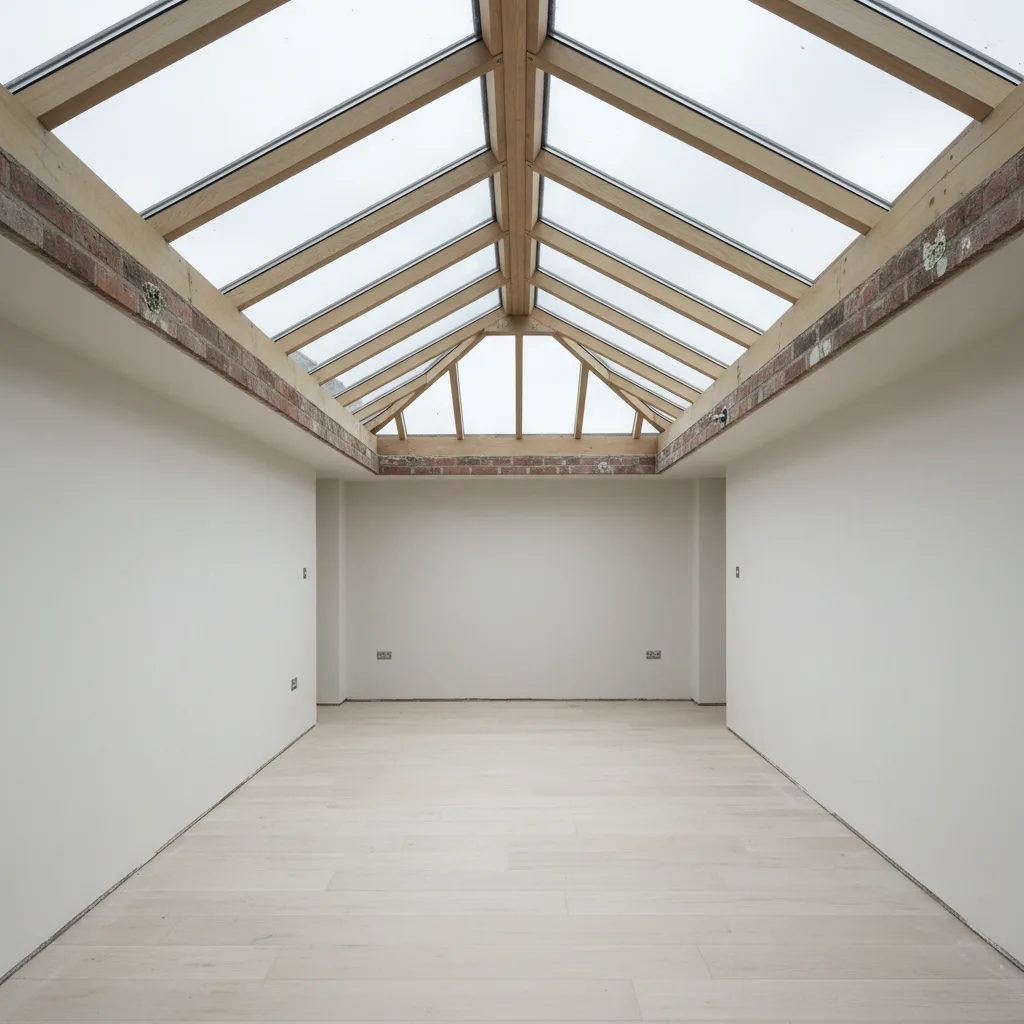
A splayed reveal throws noticeably more light into the room than a square one, because it stops the reveal itself shading the edges of the opening and gives the light somewhere to bounce.
The extra cost while the work is already happening is small. Doing it later, on its own, rarely is.
Paint it light
White or near white regardless of the wall colour. The reveal is the surface doing the reflecting, and a dark reveal absorbs the light you have just paid to let in.
Insulation behind it
The reveal is a junction between inside and outside. Insulation should be continuous to the frame with the vapour control layer sealed to it, or the reveal becomes a cold surface and shows as condensation at the corners.
That is done before the boarding goes back, and it is the part nobody sees.
Where the mess actually comes from
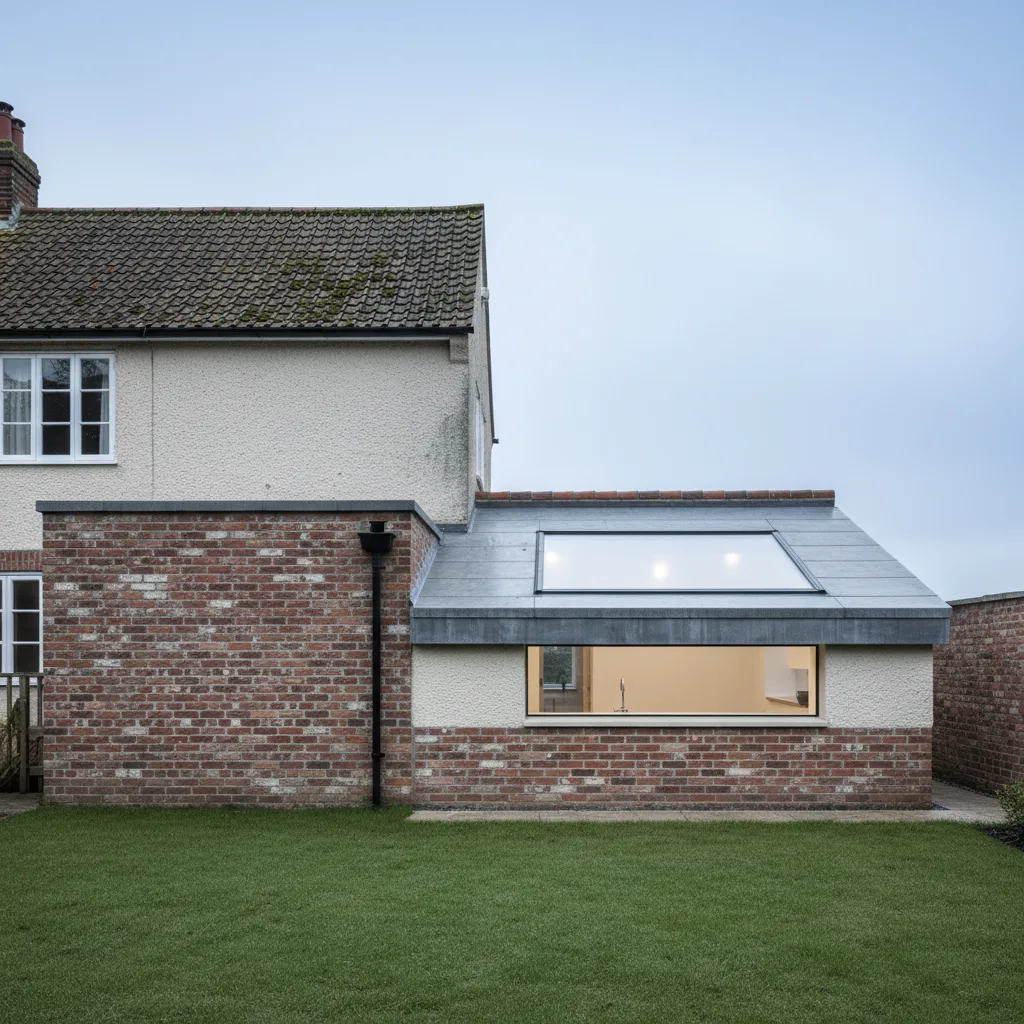
People expect a rooflight job to be about the roof. Most of the disruption is inside, and nearly all of it is the making good.
The lining around the opening has to come off to reach the frame and the structure. Putting it back is a plastering exercise with drying time attached, and it produces dust that travels through a house rather than settling politely in a loft.
That is why protection goes in before anything is opened: floors covered, furniture moved out or sheeted, and a dust barrier at the door. Where the room is reached through other rooms, the route is protected too, because materials and the old unit come out that way.
How much has to come off
More than the visible reveal.
The frame is fixed through into the structure, and the insulation collar sits between the two. Reaching both means taking the lining back far enough to expose the structural opening, which is beyond the plaster you can see.
On a replacement into an existing opening that is a manageable strip. On a new opening, or where the size is being altered, it is more.
What goes back in
Three things, in order, and only the last is visible.
The insulation collar, closing the gap between frame and structure so the reveal does not run cold enough for room air to condense on it.
The vapour control layer, made continuous and sealed to the frame, so moist air cannot pass into the roof construction where it would condense out of sight.
The lining, plasterboard cut to the reveal, taped and skimmed, left ready for decoration.
The first two are the ones nobody can check afterwards, which is exactly why they should be named lines on a quotation rather than assumptions.
The decision worth making: splayed or square
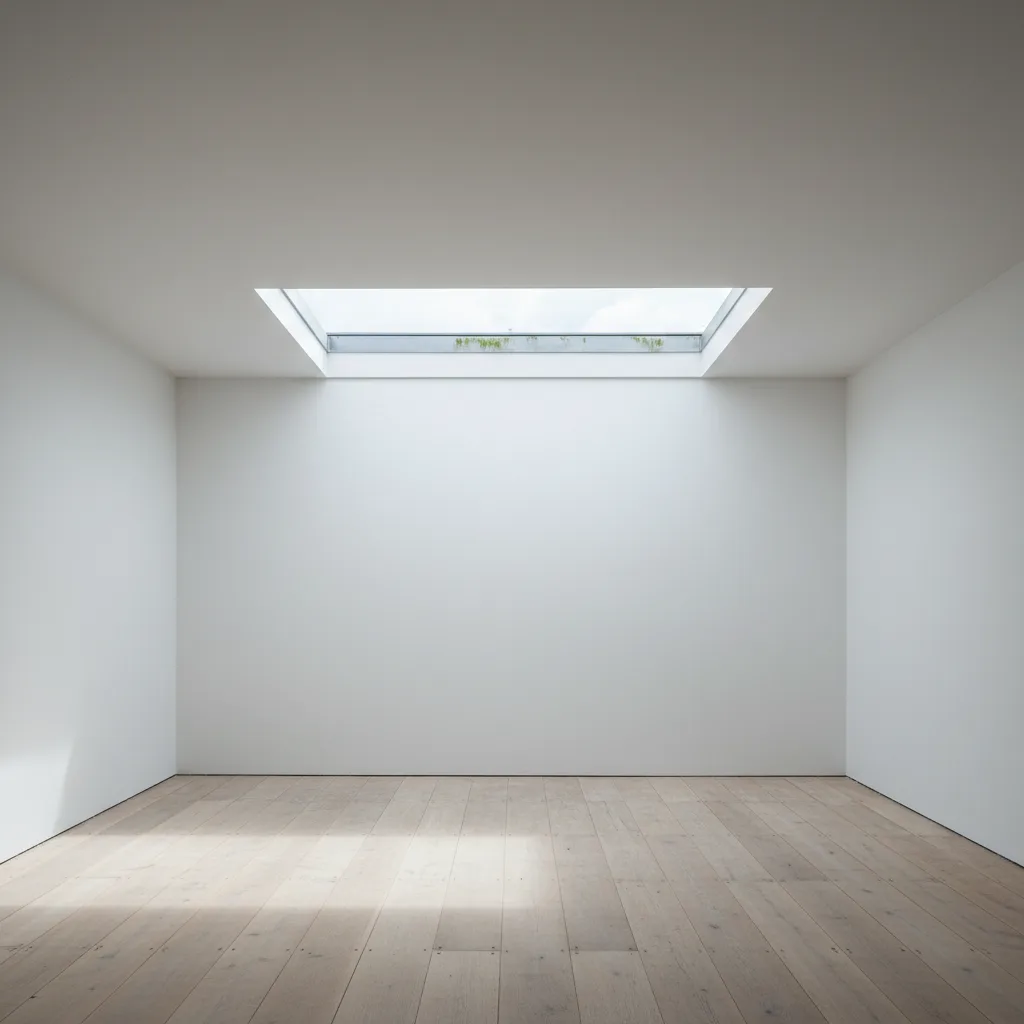
Settle it before the work starts, because the plastering is happening either way and the difference costs very little.
A square boxed reveal runs perpendicular to the window on all four sides. Light leaves the glass, travels down a straight shaft and emerges as a narrow beam landing on one patch of floor.
A splayed reveal is cut back at an angle, usually at the head and the sill, so the opening widens into the room. Light spreads outward, reaches further back, and the transition from lit to unlit is gradual rather than abrupt.
A splayed reveal makes the same window look considerably larger and distributes the light far better. It costs a little more in plastering and it is the best value decision available on the whole installation, particularly on a shallow pitch roof where the reveal is longer.
In a period room it also reads correctly where a square box with sharp modern arrises does not.
Standard of finish
Ours is a plastered finish ready for decoration, as standard, and it is a named line on the quotation.
Cheap quotations frequently stop at the plasterboard. That leaves you a taping and skimming job to arrange yourself, which is a trade visit you did not budget for and a delay you did not plan.
Decoration is not included unless specifically asked for. Where a room has a colour you cannot match, it is worth having a tin ready before the work starts.
Drying time
The part that catches people out on timing.
New plaster needs to dry before it is painted. In a warm house in summer that is days; in a cold house in winter it is longer, and rushing it produces a finish that will not last.
So the room is finished but not decorated at the end of the job. We say so at booking rather than leaving it as a surprise, and it is worth planning the work when the room can be out of use for a period rather than the day before you need it back.
Difficult existing finishes
Artex and textured coatings. The cut is straightforward and matching the texture is not. A repair around a reveal will be visible unless the whole ceiling is skimmed over, and Artex of a certain age may contain asbestos, which is tested rather than guessed at.
Lath and plaster. The plaster keys through the laths and can crack away beyond the line of the cut. Entirely workable and it needs more care and more making good than plasterboard.
Coving or cornice close to the opening. A repair that meets decorative plasterwork is a different job from one that meets a flat ceiling, and on a period property it may need a specialist.
All three are worth flagging at survey rather than discovering on the day, and all three affect the price.
The colour of the reveal
A small point that matters more than it sounds.
A white or pale reveal bounces light into the room. A dark one absorbs it.
On a rooflight installed specifically to bring daylight into a dark room, painting the reveal a strong colour undoes part of what the window is doing. Keep it light and let the colour be elsewhere.
Doing it to an existing rooflight
Worth knowing, because it surprises people.
Where a rooflight has always felt like a shaft rather than a window, or where the reveal runs with condensation every winter, both are fixable from inside without touching the roof.
The lining comes off, the reveal is reformed at an angle, the insulation collar is fitted or checked, the vapour control layer is made continuous and sealed, and the surface is replastered.
A day’s work in one room, no roof access and no scaffold, and it addresses two of the commonest complaints about existing rooflights at once.
What to ask for on the quotation
Whether making good is to a plastered finish ready for decoration or stops at the plasterboard.
Whether the reveal will be splayed or boxed square.
Whether the insulation collar and the vapour control layer sealing are included as named lines.
And whether decoration is included, which it usually is not.
Four questions, and they cover most of what people are surprised by after a rooflight job.
Why the plaster always comes off
The reveal lining is fixed to the frame or hard against it, and the skim runs onto the frame edge. There is no clean separation, so removing the unit takes the plaster with it at the junction.
That is true on a like for like replacement and on any change of size, so making good is a certainty rather than a risk. A quotation that does not mention it has either included it silently or is leaving it to you, and it is worth establishing which.
The order of work, which matters
Everything that goes behind the plasterboard has to be right before the plasterboard goes on, because it is invisible and unreachable afterwards.
Insulation carried continuously around all four faces of the reveal, meeting the window frame with no gap and no pinch point.
The vapour control layer dressed around the reveal and taped to the frame itself, continuously.
Then plasterboard, cut accurately so the joints are tight and the fixings hit timber.
Then a scrim or tape at the angles, then skim.
An installer who reaches for the plasterboard before the tape has skipped the part that matters.
Splayed reveals
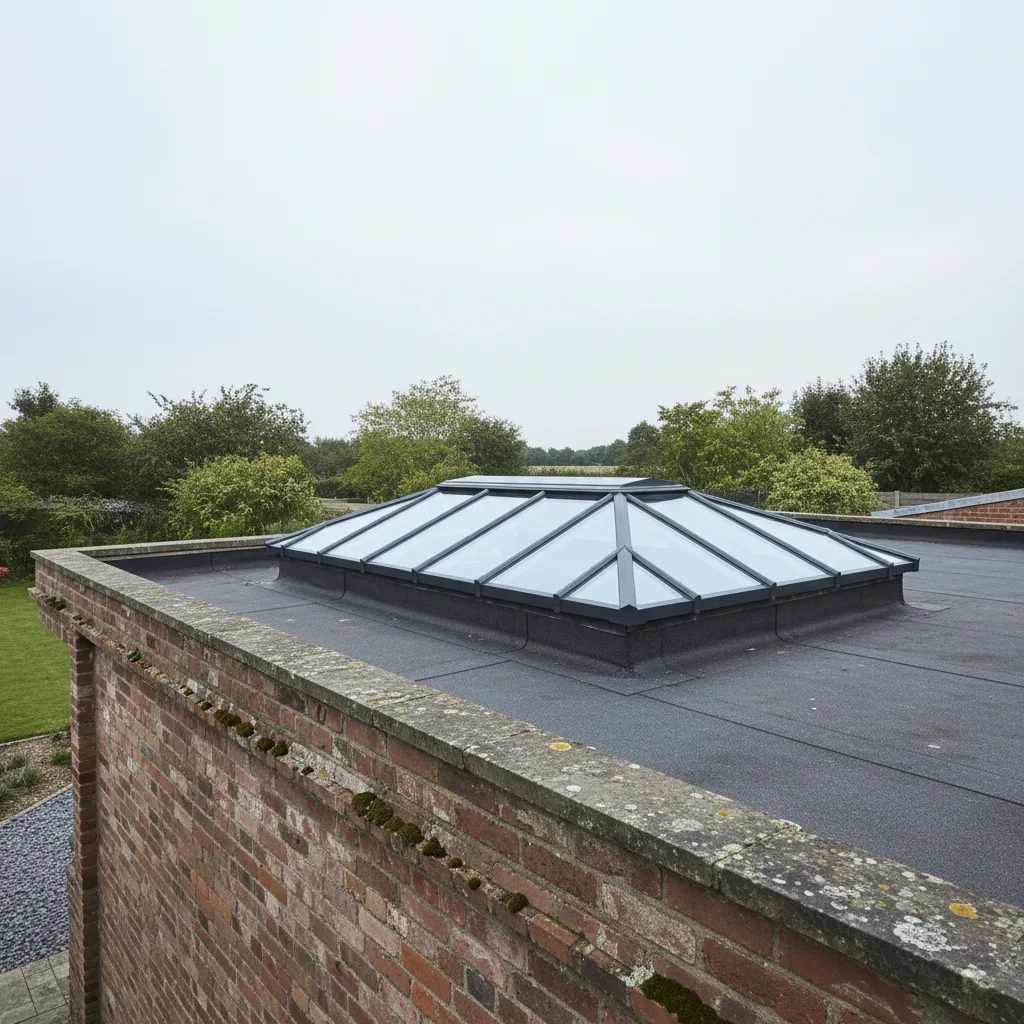
Cutting the reveal at an angle so it opens out towards the room does two things.
It spreads light. A square reveal throws a hard edged shaft; a splayed one bounces light off the angled faces and distributes it, which makes a modest rooflight feel considerably larger.
And it gives room to carry insulation around the tunnel without squeezing it to nothing where the reveal meets the frame, which is precisely where a thermal bridge does most damage.
Splaying the head and the sides is common. Splaying the sill more steeply than the head is a traditional detail worth asking about on a deep reveal.
Drying, and the decorating that follows
Fresh plaster needs to dry before it takes paint, and in cold damp conditions that takes longer. The room is usable but not finished on the day.
Realistically the ceiling gets repainted wall to wall rather than touched in. A patch on a painted ceiling rarely disappears, because the existing paint has aged and the sheen differs.
Budget for it rather than being surprised, and where several rooflights are being done, doing them together means one decorating job instead of three.
What to photograph
The insulation around the reveal and the vapour control layer taped to the frame, before the boards go on.
It is the only record that will exist, and a bridged or unsealed reveal produces condensation and staining within a couple of winters.
Beads and angles
The reveal has four external angles where the plasterboard turns, and those angles take knocks.
Metal or plastic angle bead gives a straight, durable arris. Without it a skimmed angle chips within a couple of years, particularly at a low sill where things brush past.
On a splayed reveal the angle is obtuse rather than square, and it needs the right bead for that geometry rather than a standard one forced into position.
The junction at the frame
Plaster running hard onto a window frame will crack, because the two materials move differently.
A sealant joint or a purpose made trim at that junction accommodates the movement and gives a clean line. Plaster taken tight to the frame and skimmed over always cracks, usually within the first heating season, and it gets reported as a fault when it is a detail.
Drying and decorating
Fresh plaster needs to dry thoroughly before paint, and a mist coat before full coats, or the paint will not adhere.
Rushing this is the commonest cause of peeling around a new rooflight, and in cold damp conditions the wait is longer than people expect.
Use a pale matt finish on the reveal. It is a light reflector, and a dark or glossy reveal wastes what the rooflight worked to deliver.
More on Replacing a Failed or Misted Rooflight
Ready to bring the daylight in?
Tell us about your project and we’ll send a clear, fixed written quote, no pressure, no surprises.
- Fixed written price before any work starts
- No pressure, no obligation, no sales calls
- Flexible survey times that suit you
- A reply within one working day