Thermal bridging at the rooflight perimeter
The kerb loses more heat than the glass on most installations, and nobody looks at it.
Part of our Flat Roof Rooflight Installation guide
Quotations compare U-values for glass. Almost nobody asks about the kerb, and on a typical installation the kerb loses more heat than the glass does.
What a thermal bridge is

A path through the building envelope with higher conductivity than what surrounds it. Heat takes the easy route, so a small area of poor performance carries a disproportionate share of the loss.
A rooflight kerb is a textbook example. In a warm roof, the insulation runs continuously above the deck, and the kerb punches straight through it: timber, from the warm side to the cold side, around the entire perimeter of the opening.
The arithmetic
A 1200 by 1800 rooflight has 6 metres of perimeter. An uninsulated 150mm kerb presents nearly a square metre of poorly performing envelope, at a U-value several times worse than the glass.
That is not a rounding error. It is comparable to leaving a section of the roof uninsulated.
What it does besides waste heat
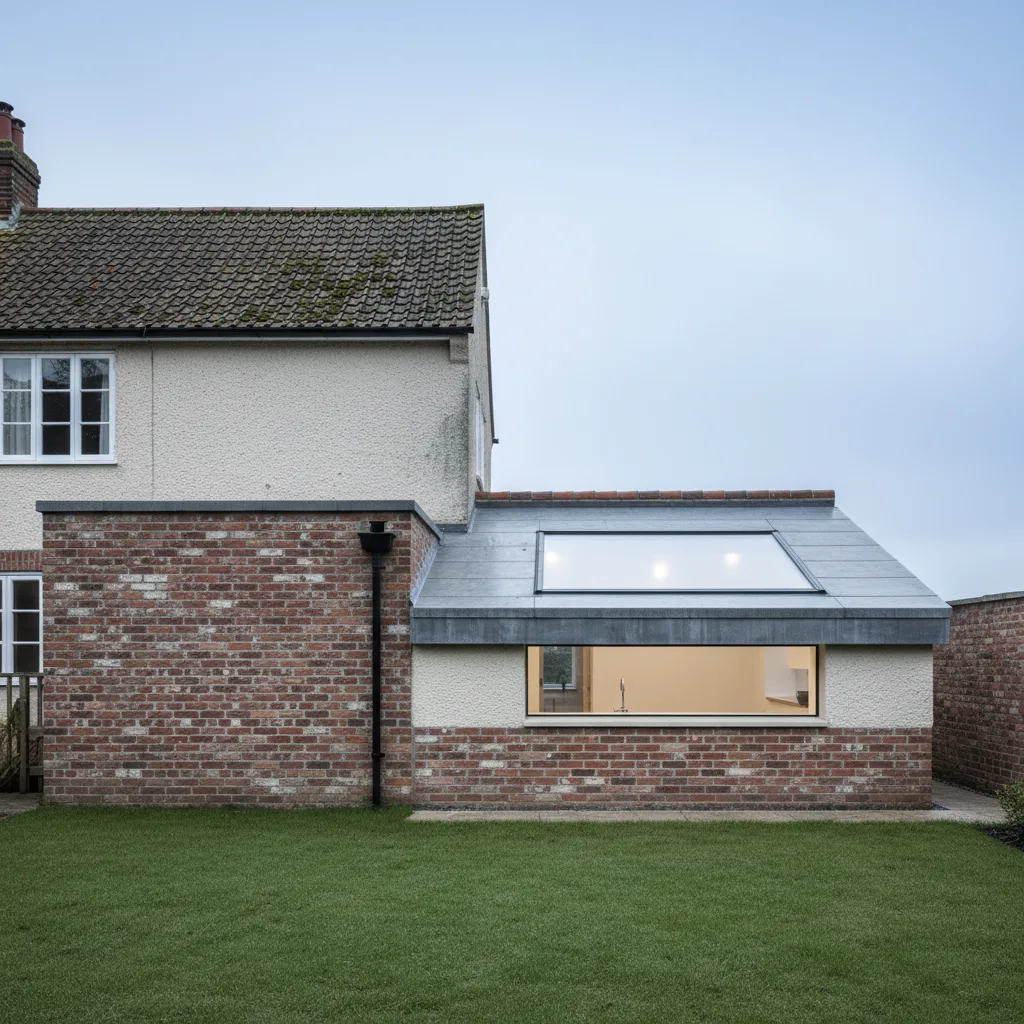
It creates a cold surface at the perimeter of the opening. In a kitchen or bathroom, that is where condensation forms first: on the inside of the frame, on the plaster at the top of the reveal, in the corners.
Which is then reported as a leaking rooflight, and sometimes results in a perfectly good unit being replaced.
How it is done properly
Insulation on the outer face of the kerb, carried up to meet the underside of the rooflight frame, so the insulation line is continuous from the roof plane up and over the upstand.
It is cheap. It is a sheet of rigid insulation and some time. It is invisible once the covering is dressed over it, which is precisely why it gets skipped.
Asking about it
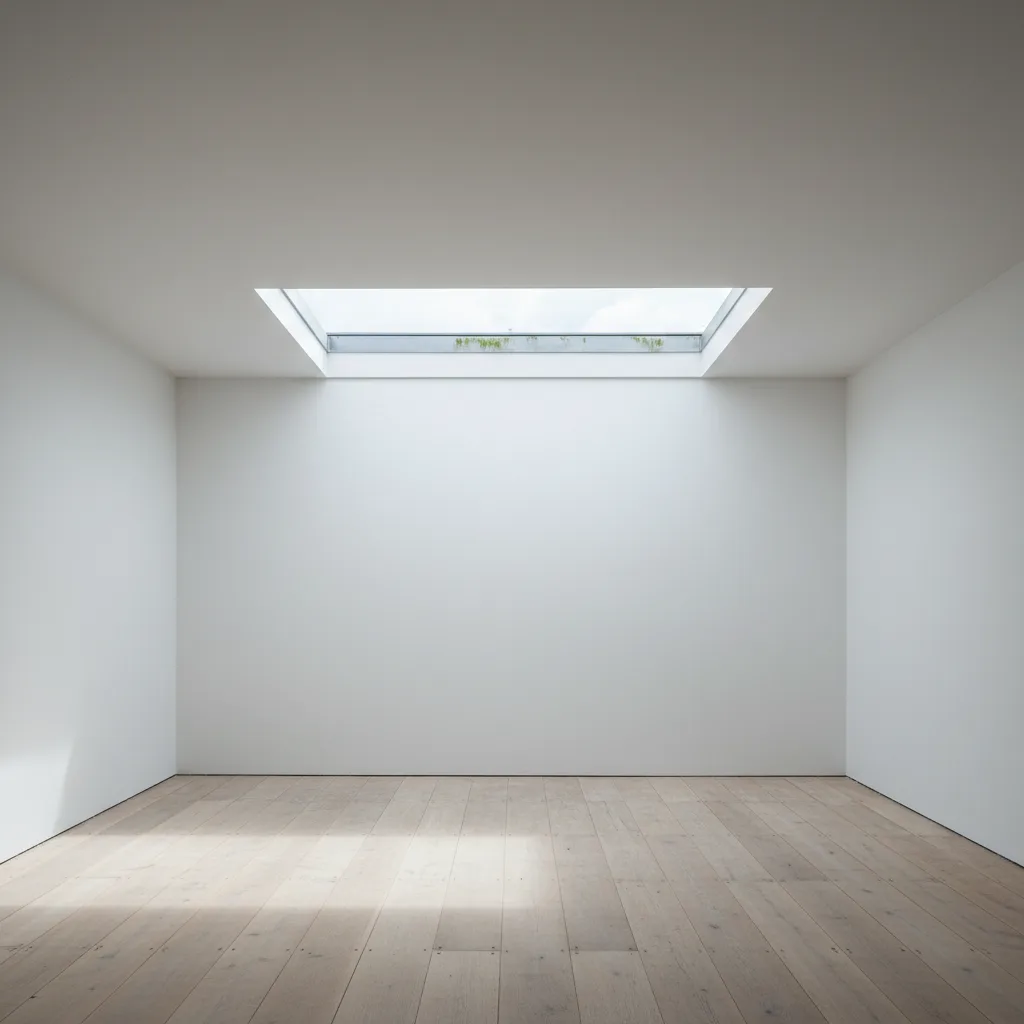
If you are comparing quotations, ask directly whether the kerb is insulated. It is a fast way to tell who is detailing the job and who is fitting a unit.
Why the edge loses more than the glass
People specify glazing carefully and then let a builder finish the opening however seems convenient. On a rooflight that is backwards.
The reason is the ratio of edge to area. A small unit has a lot of perimeter relative to its glass area, so the perimeter carries a large share of the total heat loss. A large unit has proportionally less edge and the glass dominates.
This is exactly why the whole unit U value and the centre pane U value diverge, and why the divergence is worst on small windows. The centre pane figure describes the glass in the middle of the pane. The whole unit figure includes the spacer, the frame and the edge effects, and on a small rooflight it is substantially worse.
And even the whole unit figure stops at the frame. What the builder does between the frame and the roof insulation is a further loss on top of it, and unlike the glazing specification it is entirely within your control on site.
The three places it goes wrong
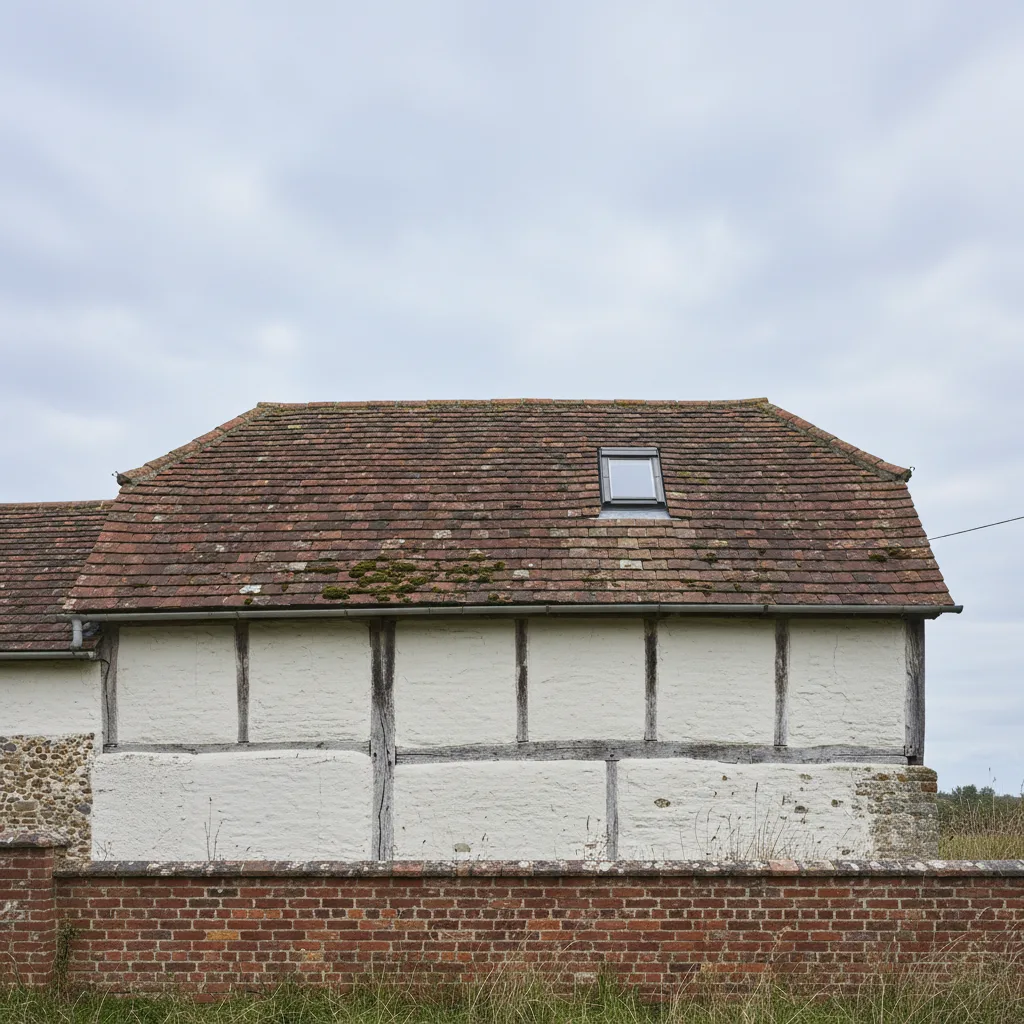
The gap between frame and timber. A window is fitted into an opening slightly larger than itself so it can be packed and squared. That gap is typically around 10mm, and left as an air space it becomes a continuous uninsulated slot around the entire perimeter.
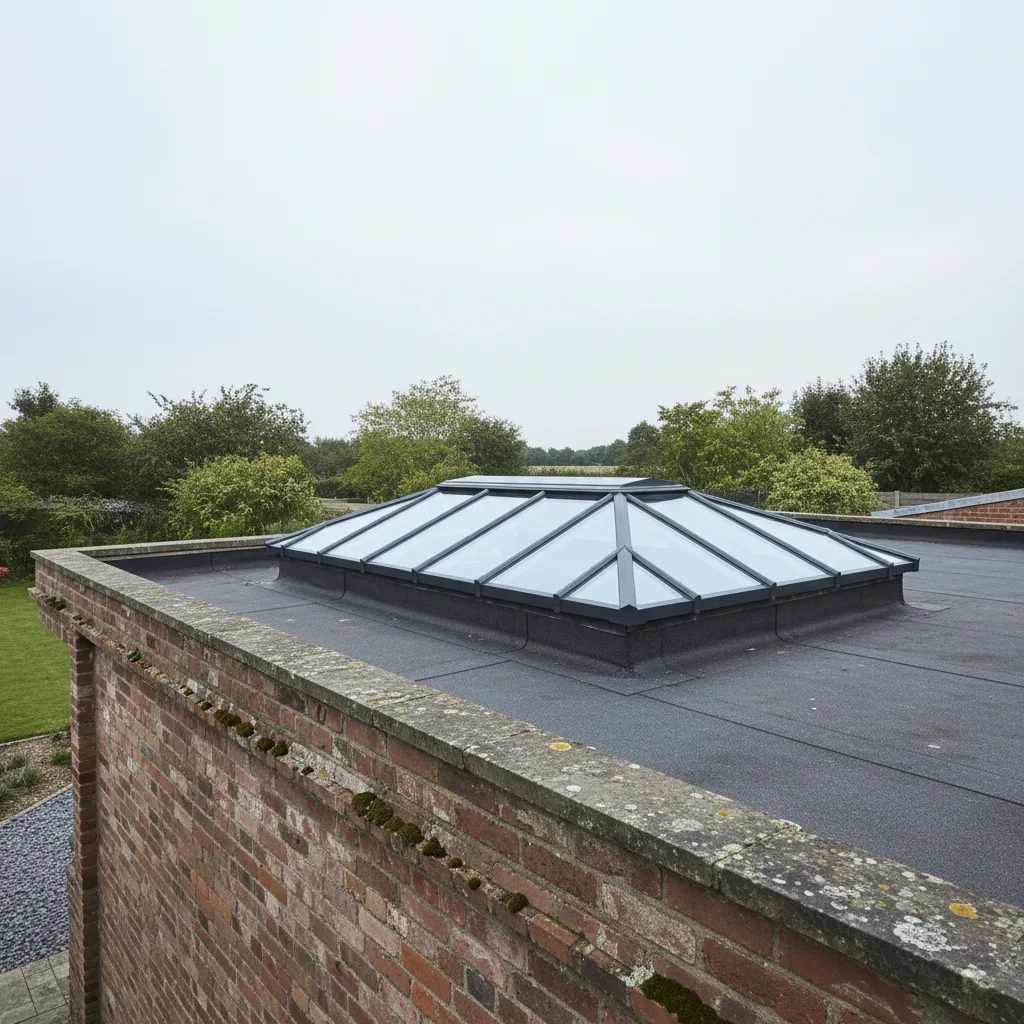
The kerb on a flat roof. A flat rooflight sits on an upstand, usually a timber box. Timber conducts far better than insulation. An uninsulated upstand is a conductive collar standing proud into cold air on all four sides.
The reveal. The tunnel from the frame down to the ceiling. Insulation has to be carried around that tunnel and frequently is not, because it is fiddly and it disappears the moment the plasterboard goes on.
The insulation collar
The purpose made answer to the first of those.
It is a preformed insulating frame that fits around the outside of the window frame, filling the gap between frame and timber with insulation rather than air. It goes on from outside, before the flashing and the covering.
It costs little relative to the window, it takes minutes to fit while the roof is already open, and it is the highest value thermal detail available on a pitched roof window installation.
It is also frequently omitted. It is sold as an optional accessory, it does not appear in a photograph of the finished job, and a customer comparing two quotations cannot see whether it is in one and not the other. Ask specifically, by name.
Fitting one afterwards means stripping the covering and flashing back off, so it is a decision made once.
Insulating a flat roof kerb
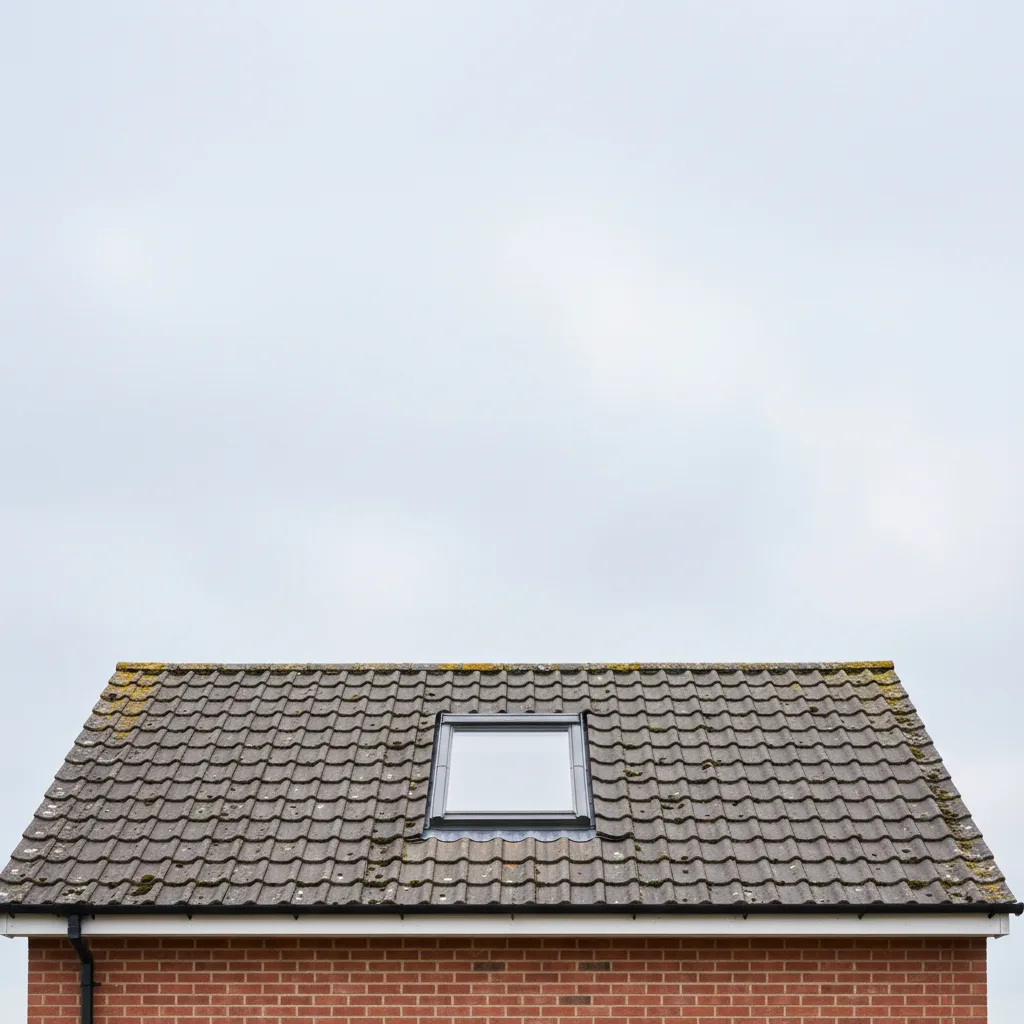
A timber upstand should be insulated on its outer face, continuous with the roof insulation, so the insulation layer runs up the kerb and meets the underside of the rooflight frame without a break.
An uninsulated kerb is a common and costly detail. The internal face runs cold, and because it is a corner where warm moist air collects, it is exactly where condensation and eventually mould appear. Owners report it as a leak; it is not.
Insulated kerb systems exist as manufactured products and resolve this properly. Where a kerb is built on site from timber, the insulation has to be specified and detailed rather than assumed.
Splayed reveals do two jobs
The reveal should be insulated on all four sides, continuous from the roof insulation around to the window frame.
Splaying it, cutting the reveal at an angle so it opens out towards the room, helps in two ways. It spreads light into the room better, which is the reason usually given. It also leaves room to carry insulation around the tunnel without pinching it to nothing where the reveal meets the frame.
A square reveal with insulation squeezed into a narrow gap at the frame is a bridge at precisely the point where it matters most.
Where vapour control fits into this
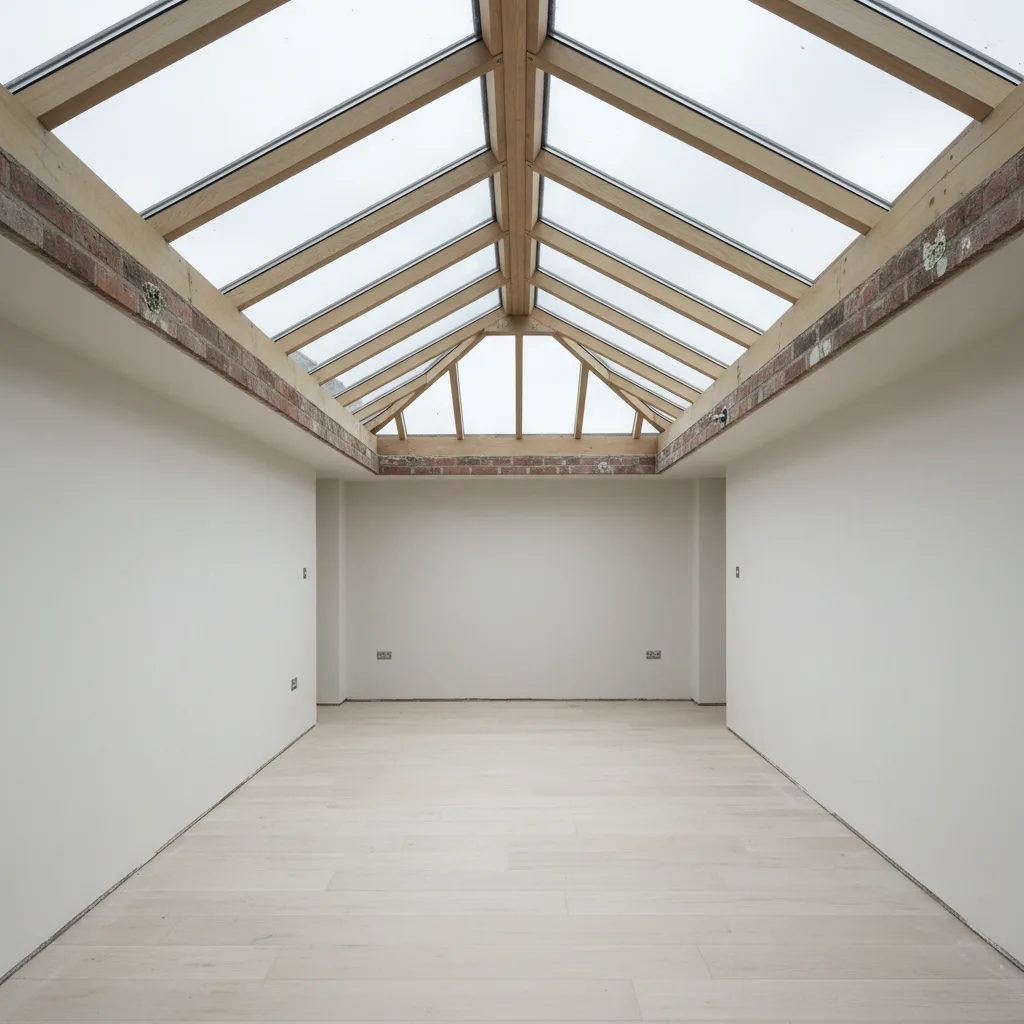
Thermal bridging and vapour control are separate problems, and they fail together.
The vapour control layer sits on the warm side of the insulation and stops moist internal air reaching cold surfaces inside the construction. At a rooflight it has to be carried around the reveal and sealed to the window frame continuously, with tape.
Where it is not sealed, warm moist air from the room gets into the reveal build up, meets cold timber or a cold frame, and condenses inside the construction where nobody can see it.
That mechanism is behind a large proportion of rooflight damp that gets diagnosed as a leak. The tell is timing: it appears in cold weather rather than after rain.
The correct order on site
Insulation continuous from the roof, up and around the reveal, meeting the window frame with no gap.
An insulation collar filling the frame to timber gap on a pitched roof, or a fully insulated kerb on a flat roof.
The vapour control layer carried around the reveal and taped to the frame, continuous and unpunctured.
The underlay collar dressed and lapped on the cold side, so water reaching the membrane passes around the opening rather than into it.
Then plasterboard, then skim.
How to verify it happened
Photographs during the work, because all of it is buried by the end of the day.
Ask for a picture of the collar fitted before the flashing goes on, and of the vapour control layer taped to the frame before the plasterboard. Any installer doing it properly will provide them without hesitation, and the request tends to sharpen the attention of one who was not planning to.
Afterwards the diagnostic is your own hand. In cold weather, feel around the reveal close to the frame. A noticeably cold band there, or condensation forming at the frame edge while the glass itself stays dry, means the perimeter is bridged even though the glazing is good.
What it is worth
On a single rooflight the energy saving from a properly insulated perimeter is real but modest. That is not the main argument.
The main argument is condensation. A bridged perimeter produces a cold surface in a warm room, and a cold surface in a warm room collects moisture. That moisture marks the plaster, lifts the paint, and given a few winters grows mould in the corners of the reveal.
Fixing it afterwards means opening up the reveal, and on a pitched roof it may mean opening the covering too. Getting it right on the day costs a fraction of that and takes an hour.
Why this costs more than the heat
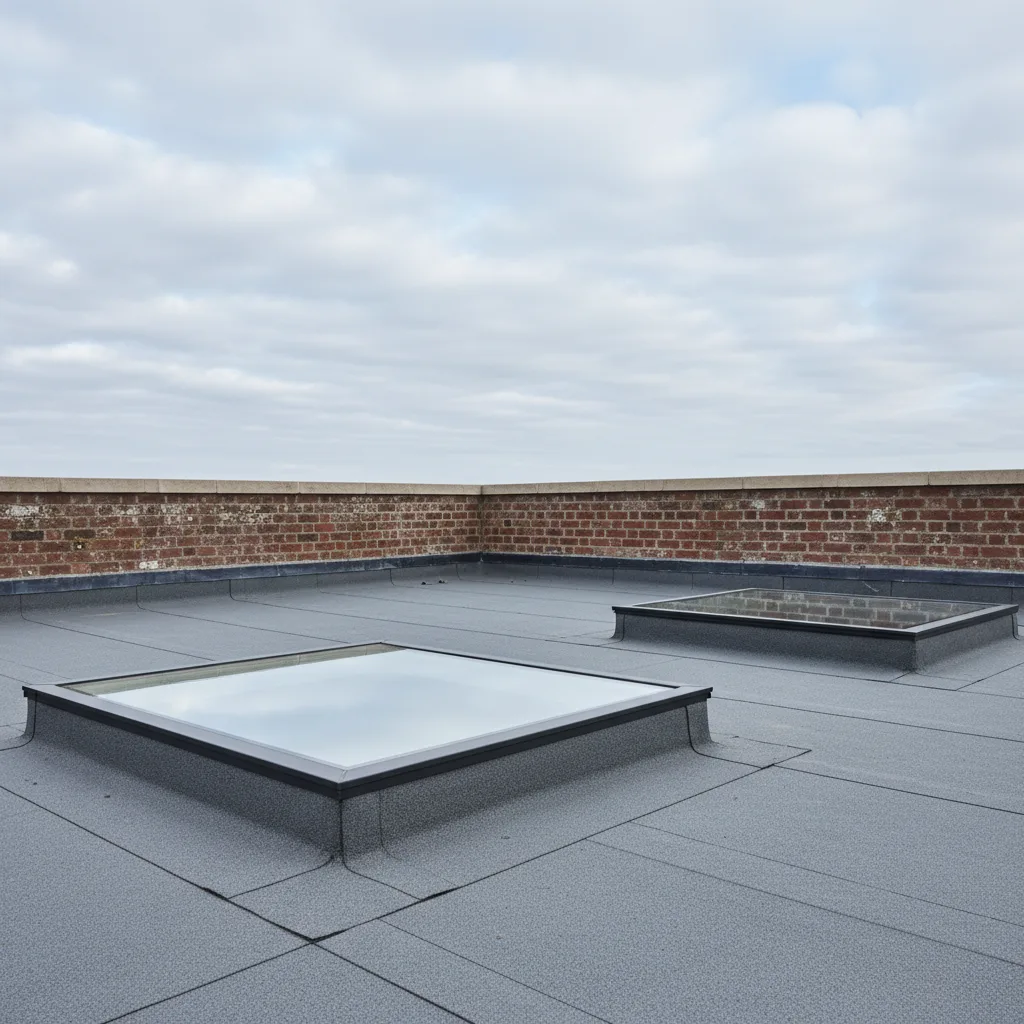
On a single rooflight the energy saved by a properly insulated perimeter is real but modest. That is not the main argument, and presenting it as one undersells the case.
The main argument is condensation.
A bridged perimeter produces a cold surface in a warm room. A cold surface in a warm room collects moisture. That moisture marks the plaster, lifts the paint, and after a few winters grows mould in the corners of the reveal.
Fixing it afterwards means opening up the reveal, and on a pitched roof it may mean opening the covering too. Getting it right on the day costs a fraction of that and takes an hour.
The insulation collar, and why it goes missing
It is an optional accessory. It does not appear in a photograph of the finished job. A customer comparing two quotations cannot see whether it is in one and not the other.
So it is priced out by installers competing on total figure, and nobody is any the wiser until the first cold winter.
Ask for it by name on every quotation, and ask for a photograph of it fitted before the flashing goes on. The request tends to sharpen attention.
Fitting one afterwards means stripping the covering and flashing back off, so it is a decision made once.
The kerb on a flat roof
The same problem in a different form, and a more severe one because the kerb stands into cold air on four sides plus the top.
Insulation on the outer face, continuous with the roof insulation, meeting the underside of the frame with no break. Insulated kerb systems exist as manufactured products and they resolve it properly.
Where a timber kerb is built on site, the insulation has to be specified rather than assumed, and it is the single most common defect on flat rooflight installations.
Testing it yourself afterwards
On a cold day, put your hand on the reveal close to the frame and work outward.
A noticeably cold band there, while the reveal a hand span away is at room temperature, means the perimeter is bridged.
Condensation forming at the frame edge while the glass itself stays dry is the same signal. Good glazing and a bad perimeter produce exactly that pattern.
The photographs to ask for
The collar fitted before the flashing. The kerb insulated before the covering. The vapour control layer taped to the frame before the plasterboard.
All three are buried by the end of the job and none can be verified afterwards without opening up.
More on Flat Roof Rooflight Installation
Ready to bring the daylight in?
Tell us about your project and we’ll send a clear, fixed written quote, no pressure, no surprises.
- Fixed written price before any work starts
- No pressure, no obligation, no sales calls
- Flexible survey times that suit you
- A reply within one working day