VELUX flashing for plain tile, slate and pantile
Three coverings, three kits, and the one mistake that accounts for most leaks we are called to.
Part of our VELUX Window Installation guide
The window is watertight because the flashing kit laps the covering correctly. The kit has to match the covering profile, and this is where most installation defects originate.
Flat coverings
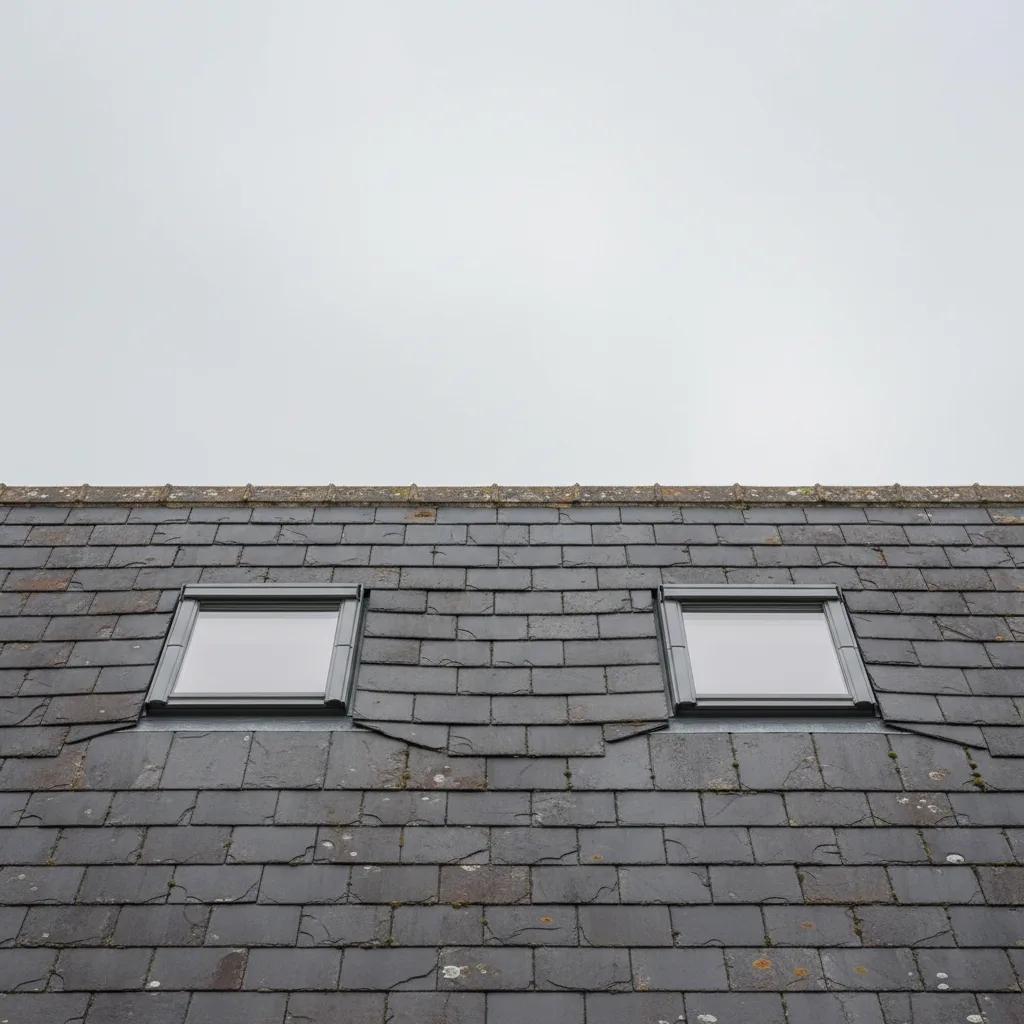
Natural slate is the most forgiving covering there is. Flat, regular, and a flat profile kit sits tight against it. Slate is also easy to cut cleanly.
Plain clay tile, common on Colchester’s older stock, is nearly as good. The tiles are small, so more of them need cutting around the opening, but the surface is flat and the flat profile kit suits it.
Profiled coverings
Clay pantile has a deep S-shaped roll. It is common through the Colne Valley villages, Dedham Vale and the older Tendring stock.
Concrete interlocking tile is what most post-war and later estate housing here was re-roofed with. Also profiled, usually with a shallower roll than a pantile.
Both need a deep profile kit, with sections shaped to bridge the roll of each tile.
The common mistake
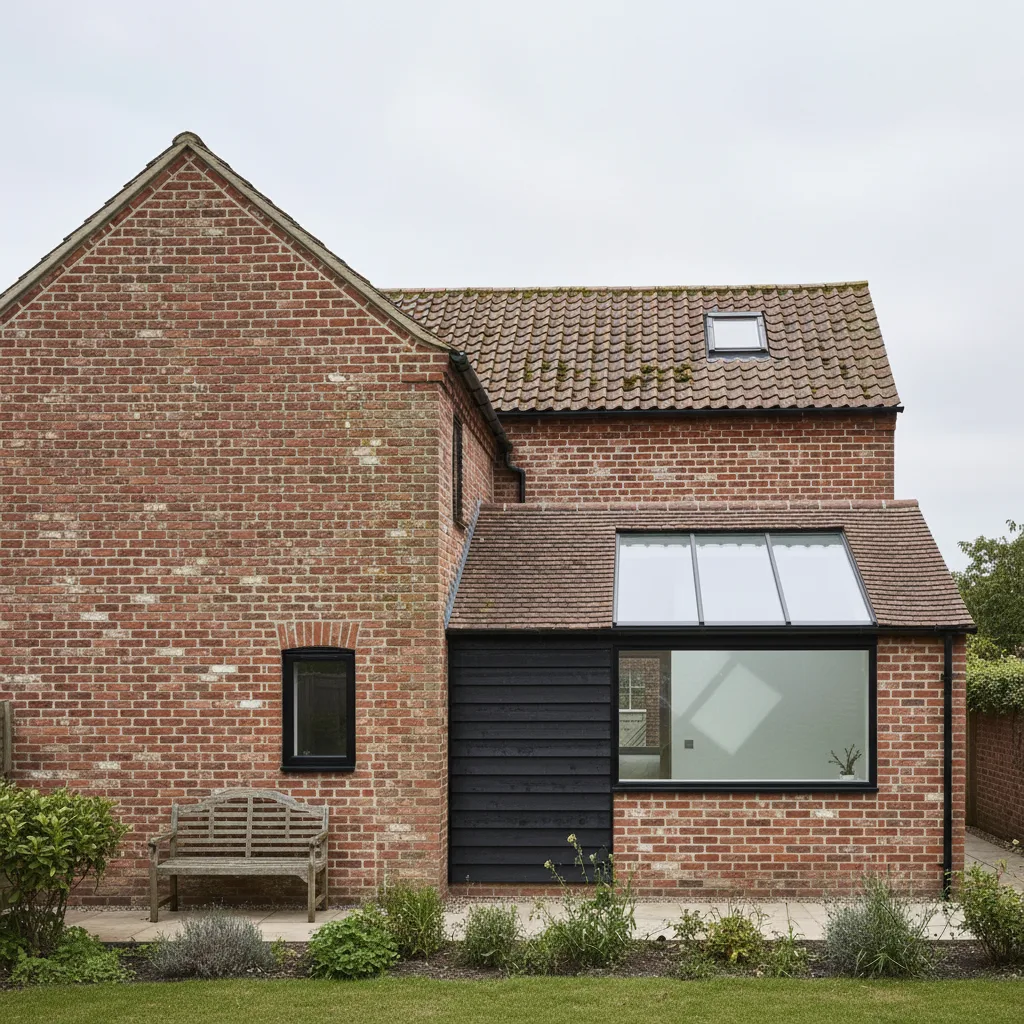
A flat kit fitted to a profiled tile. It looks acceptable when finished, and there is a gap under every single roll.
It will not leak on the day. It leaks in the first driving rain arriving from the wrong direction, which on this coast is weeks rather than years. It is the single most common defect we are called to correct, and the remedy is to strip back and refit with the correct kit rather than to seal it.
Recessed installations
Kits are also available to set the window deeper into the roof so it sits closer to flush. Better looking, better thermally, and a common requirement in conservation areas, where a flush appearance is often what makes an application acceptable.
Insulation collars

Supplied separately, wrapping the frame to continue the roof insulation up to the window. It is not part of the flashing and it is frequently omitted, which produces a cold perimeter and condensation at the reveal.
Why the flashing kit is the part that matters
A roof window does not keep water out by being sealed to the roof. It keeps water out by being layered into it, so that water reaching any level is carried away and downhill rather than stopped.
The flashing kit is the visible half of that arrangement, and it is matched to the covering. Kits are not interchangeable, and using the wrong one is the most common installation fault we find on other people’s work.
It is also invisible once the covering is back, which is exactly why it gets substituted on a cheap quotation. The kit is a separate order line and nobody can see afterwards which one was fitted.
The flat profile: slate and flat interlocking tiles
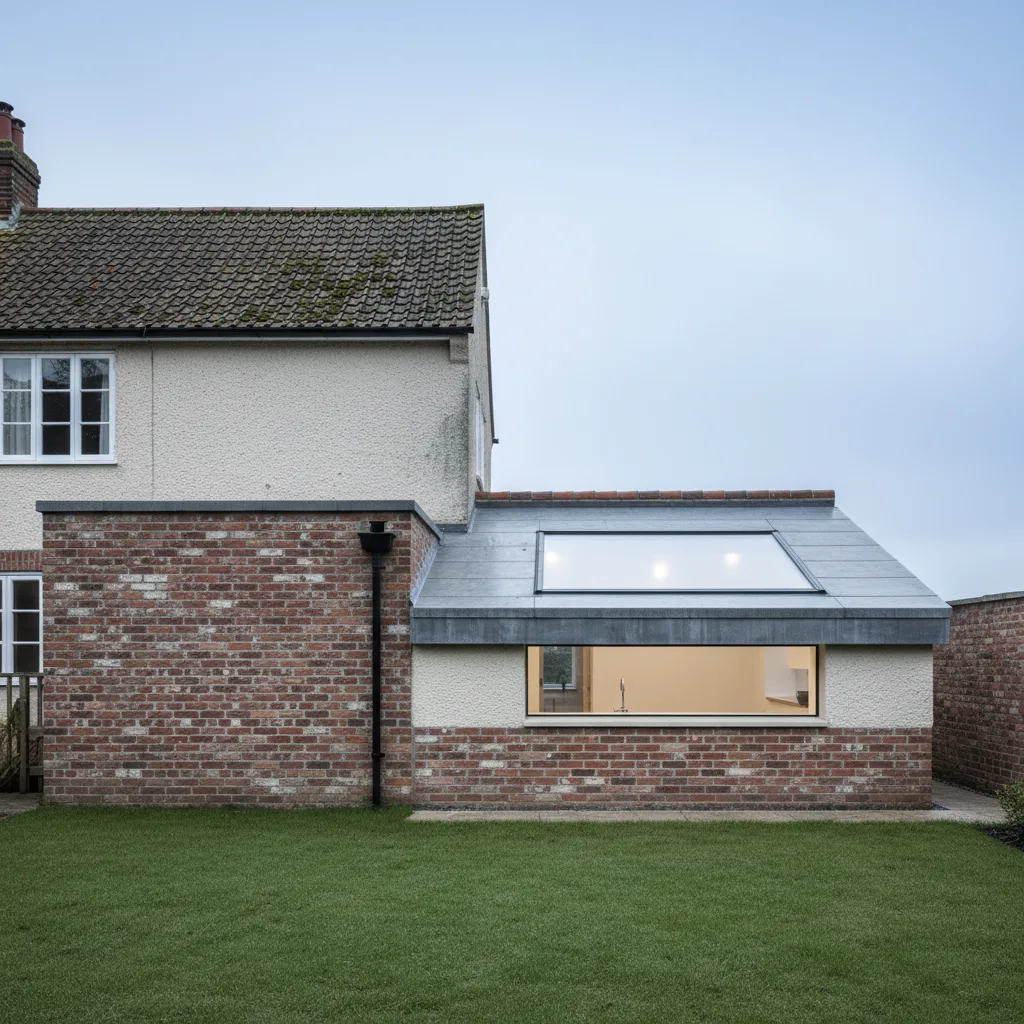
Designed for a covering with a flat surface, where the flashing can lie directly against it.
The arrangement is an apron at the sill, soakers or side sections interleaving with the courses up each side, and a head flashing at the top with the covering above lapping over it.
Slate is the most cooperative covering in this trade. It is flat, individual slates can be lifted and replaced without disturbing their neighbours, and the pitches are usually steep enough that gravity does much of the weathering work.
The one thing to know about slate is how a replacement slate is fixed in the middle of a slope. You cannot get at the head to nail it, so a slate hook or a tingle is used. A visible metal tingle is what a proper repair looks like rather than a shortcut.
The deep profile: concrete and clay interlocking tiles
The covering on most housing built from the 1930s onward, and the one where the wrong kit does the most damage.
An interlocking tile has a raised profile with a channel running down it. A deep profile flashing is formed to dress into and over those channels, sealing against the tile shape rather than lying flat on it.
A flat kit fitted to a profiled tile leaves open voids under every channel where it crosses the tile. Water gets under them within a season, and because it enters below the flashing it appears inside as a leak that seems to come from nowhere and defeats attempts to trace it.
If you take one thing from this guide: on any interlocking tile roof, ask which kit is specified by name and part number. A quotation that cannot answer has not been written from a survey.
Plain clay tiles

Small tiles laid in double lap, so every point on the roof has two thicknesses over it. Common on older property, and demanding to work with.
The flashing detail generally uses soakers interleaved with the tile courses rather than a single formed apron, which is more work than fitting a proprietary kit to an interlocking tile.
The practical issues are about the tiles rather than the flashing. They have to be lifted individually over an area larger than the opening, because the double lap means you cannot simply remove a rectangle. Old clay is brittle and a proportion breaks whatever care is taken. And matching a weathered handmade tile is genuinely difficult.
The usual answer is to take sound tiles from a rear or hidden slope, use those around the new opening, and put the replacements where they cannot be seen. On a listed building that approach may itself need describing in the consent application.
Pantiles
The S shaped profile, common in parts of East Anglia and on agricultural buildings across this area.
They need their own deep flashing profile, formed to the specific shape, and they are unforgiving of a universal kit. The interlock is a single overlap rather than the double lap of plain tiles, so a gap under a flashing is a direct route.
Pantile roofs are also frequently at shallower pitches than plain tile roofs, which means less water sheds under gravity and more of the weathering falls on the flashing. That combination makes the correct profile more important here than almost anywhere.
The two components that are not the flashing
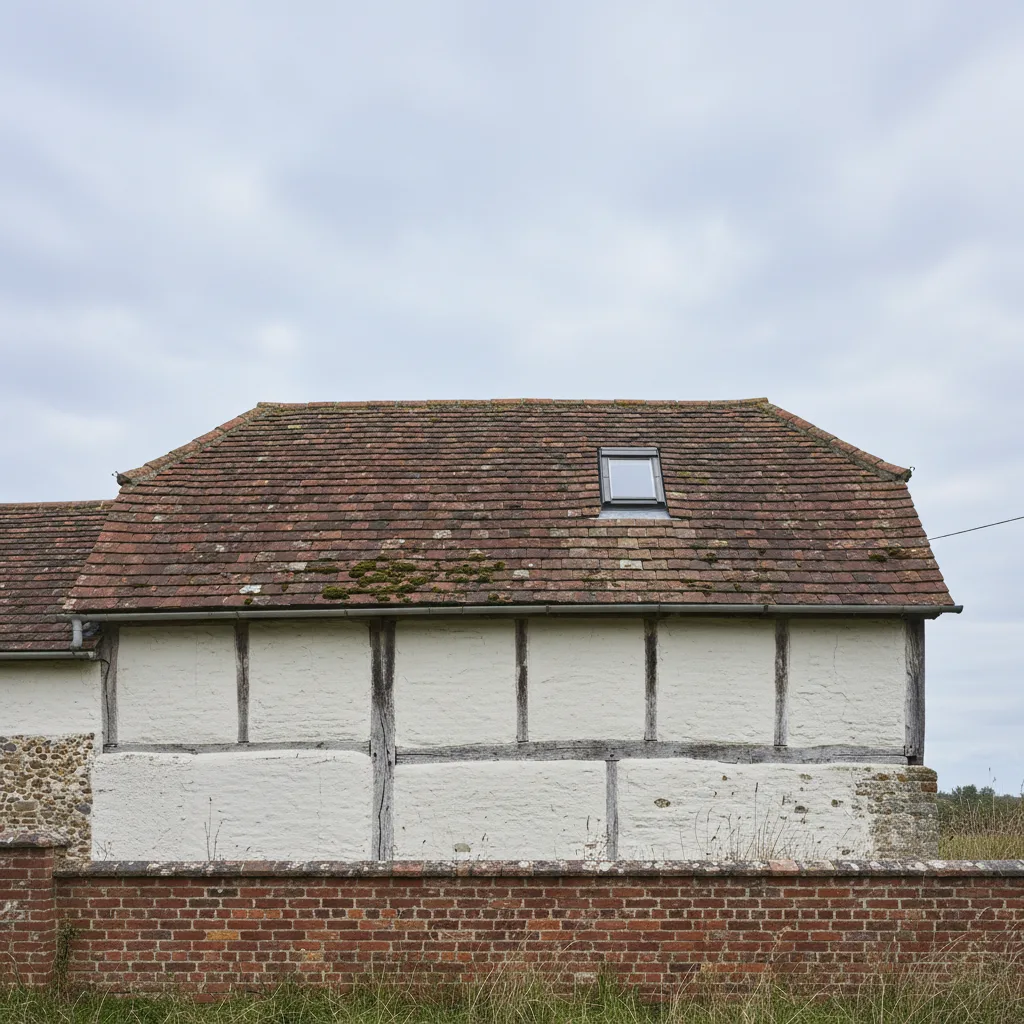
The underlay collar. Every tiled or slated roof has a membrane beneath the covering, and some water always gets past tiles in driving rain. That water runs down the membrane, and if the membrane simply stops at the opening it funnels straight in.
The collar is dressed and lapped so the membrane above the window drains onto the collar, the collar carries the water around the opening, and it discharges onto the membrane below. Get the laps the wrong way round and the roof delivers water into the opening rather than past it.
This is invisible once the covering is back and it is where a great many leaks originate.
The insulation collar. Nothing to do with weathering, and it goes in at the same stage. It closes the gap between the frame and the structure, and without it the reveal runs cold enough for room air to condense on it, which shows up as water on the plaster months later.
The sequence, which is the whole job
Underlay collar first, dressed and lapped. Then the flashing kit. Then the covering reinstated over the flashing, never under it.
Water runs down the tiles onto the flashing and off it. Reverse that and it runs under the flashing and into the roof. Reversing the sequence is a guaranteed leak and it happens more often than it should on rushed work.
Roofs with no underlay

Common on any pre war property that has never been stripped: tiles or slates hung on riven battens with the rafters visible from inside.
Modern rooflight weathering assumes a membrane to lap into. Where there is none, the detail is built around the opening instead, which is entirely workable, takes longer, and should be in the quotation rather than discovered on the day.
On a period property in this area it should be anticipated rather than treated as a surprise.
Recessed and combination flashings
Worth knowing because they come up on conservation work.
Some manufacturers offer a recessed flashing kit that sets the window lower into the roof plane than a standard kit does, reducing how far the unit stands proud. On a property where profile matters, either for planning reasons or simply for appearance, that is worth asking about.
Combination kits join two or more windows side by side or one above another under a common flashing. They are purpose designed and they are not something to improvise: the junction between two units is the hardest detail on the roof and water arrives there from both sides.
Replacements: fit a new kit
Always.
Reusing a flashing that has been on the roof for the same twenty five years as the window that just failed is a false economy, and on an exposed roof it is where the next leak comes from. The kit is size specific in any case, so a replacement of a different size needs a new one regardless.
Where a quotation is noticeably cheaper than the others on a replacement, this is one of the places to check.
Why profile matching is the whole thing
A flashing kit turns water away from the window frame and back onto the roof. To do that it has to sit against the covering with no continuous void underneath.
A covering with a profile has depth. If the flashing bridges across the high points instead of following the form, the low points become open channels running straight beneath it, and driven rain finds them.
That single error accounts for a large share of rooflight leaks, and it looks entirely acceptable from the ground.
Plain tile and slate
Flat profile kit. Both coverings lie close to the batten line and present a flat surface, so the flashing sits tight against them.
Soakers interleave with the courses up each side, an apron sits at the sill, and a head flashing goes at the top with the covering above lapping over it.
Because the surface is flat there is no void for water to travel along under the flashing, which is why installations in these coverings, done properly, are the most reliable in the trade.
Slate has a further advantage: individual slates lift and replace without disturbing their neighbours, so the covering goes back cleanly.
Pantile and profiled interlocking tile
Deep profile kit. The apron is corrugated or formed so it can be dressed down into the troughs and over the rolls, following the covering rather than sitting above it.
Cut tiles at the opening lose part of their interlock, so they need mechanical fixing and support from the flashing rather than the engagement that has been removed.
Where a cut would leave a narrow sliver, the right move is to widen it or adjust the opening position slightly so the cuts fall better. That is a decision made on the roof with the covering off.
Where no standard kit fits
Hand made pantiles and unusual local coverings vary too much for a pressed kit to follow.
The answer is lead dressed on site by somebody who can do it. That is a leadworking skill, it takes time, and it should be priced honestly rather than substituted with a kit that nearly fits.
The layer below
The underlay collar, dressed and lapped so water reaching the membrane passes around the opening.
Sequence: collar first, then flashing, then covering reinstated over the flashing rather than under it. Reverse any of those laps and water is being asked to climb.
Combination and recessed kits
Combination kits weather two or more units as one system, with a fixed gap that has to be set out before carpentry starts.
Recessed kits set the window lower into the roof plane, which on a designated building can be what makes a proposal acceptable.
More on VELUX Window Installation
Ready to bring the daylight in?
Tell us about your project and we’ll send a clear, fixed written quote, no pressure, no surprises.
- Fixed written price before any work starts
- No pressure, no obligation, no sales calls
- Flexible survey times that suit you
- A reply within one working day